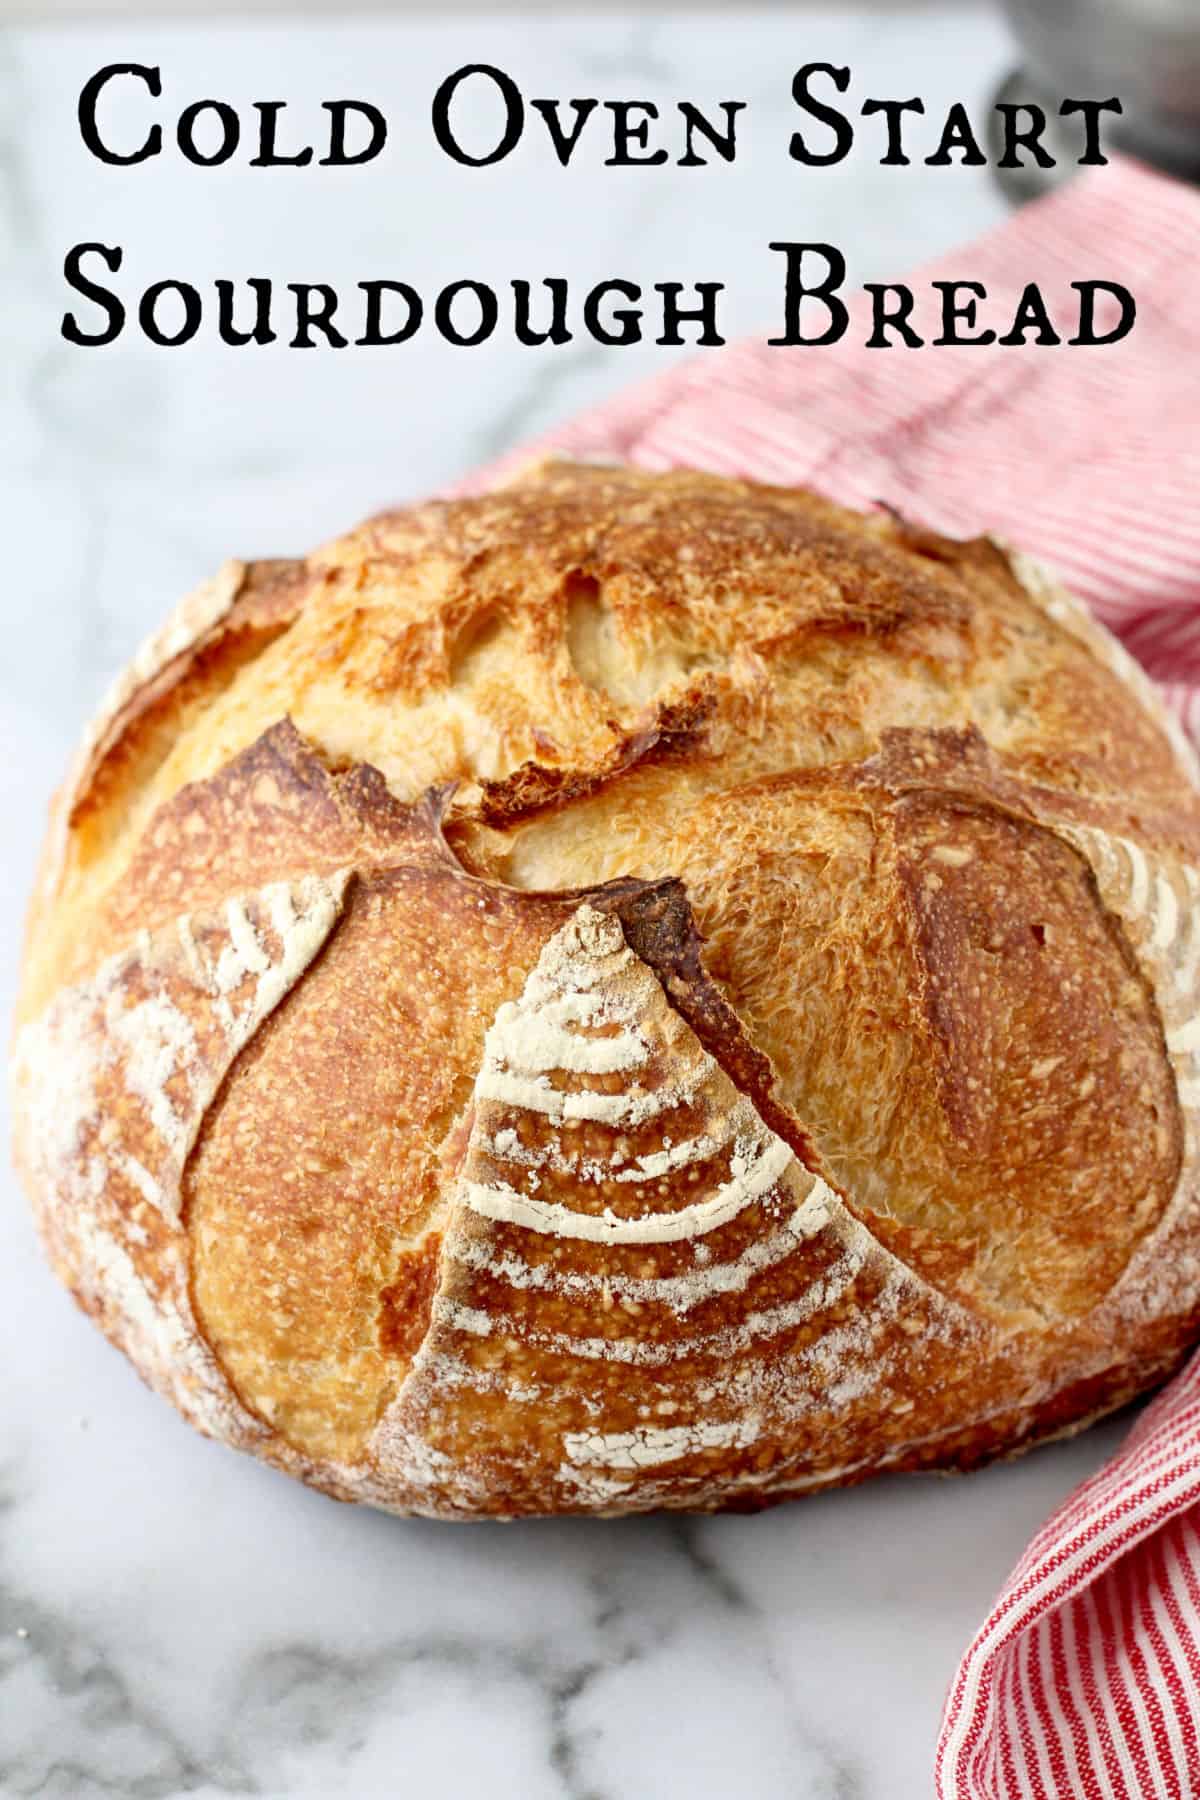
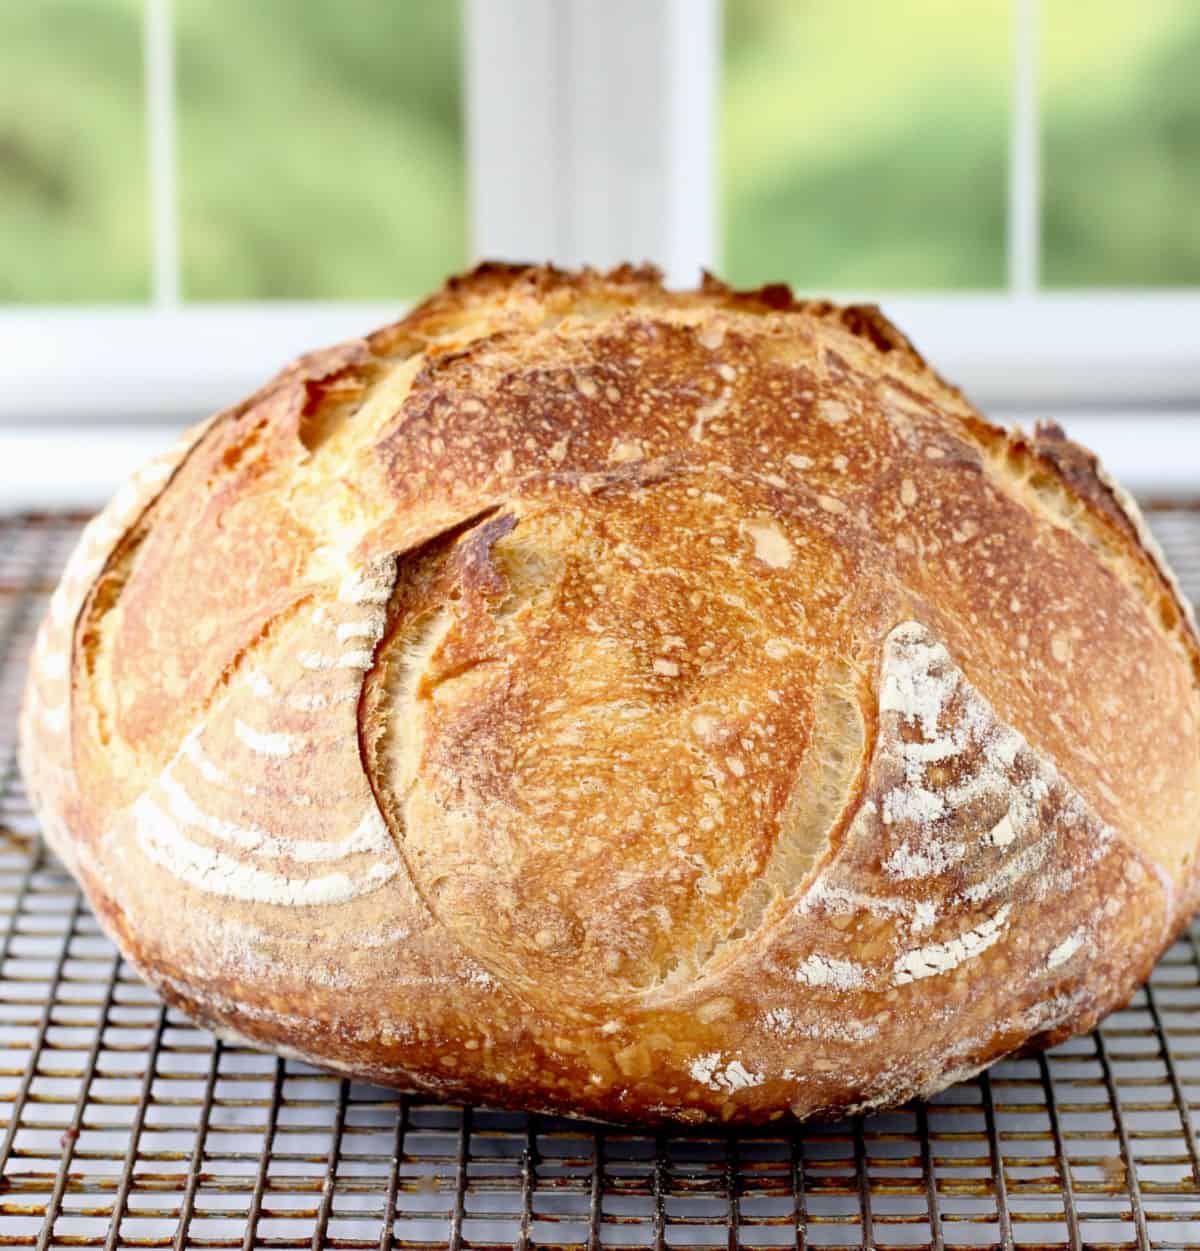
This sourdough bread is nice and tangy, and emerges from the oven with a crunchy crackly crust that totally sings. You will want to stand there and listen to your bread crackle as it sits on the cooling rack.
Lately, I've been hearing a lot about cold start sourdough, where you start your bake with cold dough, a cold pan or Dutch oven, and a cold oven.
You actually turn on the oven with the dough-filled pan already in it. No preheating.
The authority on this method is Elaine Boddy, who runs the site "Foodbod Sourdough" from south-central England.
I discovered her book, The Sourdough Whisperer, a few months ago, and finally decided to give the method a try. I've since purchased her first book, Whole Grain Sourdough at Home: The Simple Way to Bake Artisan Bread with Whole Wheat, Einkorn, Spelt, Rye, and Other Ancient Grains.
Both of her books and website are comprehensive resources for building, maintaining, and preserving a sourdough starter too.
One reason I love her books is that her method isn't too fussy. Plus, she has photos that you can use when you are wondering, "where did I go wrong?" so that you can adjust your timing and recognize the signs for when you overproofed or underproofed your dough.
A lot of bread baking sites have jumped on the bandwagon and have been doing comparison bakes, posting photos of the differences between cold start loaves and loaves baked in a preheated oven, including The Sourdough Journey and even King Arthur Baking, who tried it with a standard no knead method using instant yeast.
It is worth trying this method and playing around with it with all of your favorite bread and roll recipes. I probably won't attempt it with pizza, but anything else, yeasted or sourdough, is worth trying.
Ingredient Notes:
This recipe calls for unbleached bread flour. It should be high in protein so that you can develop tension and strength in the dough. I typically use King Arthur bread flour, which I can usually find locally. I also love the organic bread flour from War Eagle Mill, which I've ordered online (not an affiliated link).
You will also need water, salt, and active and bubbly 100 percent hydration sourdough starter.
You will also need rice flour for dusting your banneton. It's like Teflon. I like to mix equal parts rice and and wheat flour together and keep the mixture in a shaker for even distribution.
Tips for Making this Cold Start Sourdough Bread:
The amount of time it will take for your dough to rise during its first ferment depends on the ambient temperature, so it's a good idea to pay attention. You want the dough to double and even triple, but still be slightly domed.
Once it starts to collapse, you are risking that your dough may be overproofed. Rest assured, there is such a small ratio of starter to the rest of the ingredients that you will need a good amount of time.
Finally, once you shape your loaf, you can refrigerate it for at least three hours and up to 24 hours. The loaf won't actually rise much. It does most of the rising in the oven as the oven heats up.
Plus, the cold dough of the shaped loaf makes scoring so much easier.
Helpful Tools:
Banneton or towel lined bowl for placing the shaped loaf: It should measure about eight or nine inches across. If you don't have a banneton, just line a nine-inch bowl with a floured tea towel and place the shaped dough in it.
Parchment Paper: Be sure to use good quality heavy duty parchment. Thinner parchment will stick to the loaf and you'll have to cut it off. I've learned the hard way.
Kitchen Scale: This tool is essential for accuracy, especially when measuring flour or sourdough starter.
Lidded Baking Vessel: Two of my favorites for this method are Granite Ware-style (enameled steel) lidded roasters or clay bakers. One of my favorite splurges is the Emile Henry Dutch oven.
I baked this loaf in a Granite Ware style pan.
If you love baking sourdough bread, give this technique a try and let me know how it goes!
More Bread Recipes You May Also Like:
Individual Chive Bubble Breads
P.S. this bread is so good toasted for breakfast.
Cold Start Sourdough Bread with Overnight Dough

Ingredients
- 50 grams (1/4 cup) 100 percent hydration sourdough starter that has been fed and allowed to grown bubbly and ready to use.
- 1 1/2 cups water
- 500 grams (4 cups) unbleached bread flour
- 7 to 10 grams (1 teaspoon +) salt
Instructions
- In the early evening (about 5 to 6 pm) mix all of the dough ingredients in a large bowl by hand, dough whisk, or dough scraper until you have a rough and shaggy dough. Cover the bowl with plastic wrap and let sit for one hour.
- After one hour, stretch and fold the dough over itself about 4 to 8 times, turning the bowl in quarter turns. Pull the dough from the edge of the bowl and fold it over the middle to the opposite edge of the bowl so that you are developing the gluten in the dough. Make sure to do this from all "sides." Cover the bowl with plastic wrap.
- Repeat the stretches and folds, three more times, every 30 minutes. Cover the bowl again with plastic wrap and let sit at room temperature overnight, 8 to 10 hours. The dough should double or more in size and still be rounded (domed) on top.
- Sprinkle your banneton generously with a 50/50 rice/wheat flour mixture and line your lidded baking pan with parchment paper.
- When the dough is ready to shape, form the dough into a ball by performing another set of "stretches and folds." The dough should hold its shape in the bowl and be fairly bouyant after it has been shaped. Lift the dough out of the bowl and place it, seam side up, into the banneton. Pinch the seam together if necessary. Cover with plastic wrap and place it in the refrigerator for at least 3 hours and up to 24 hours.
- When ready to bake, remove the loaf from the refrigerator, remove the plastic wrap, and top the dough with parchment paper and a plate. Flip the whole thing over, plate and all, and lift the banneton off of the shaped dough so that the boule is sitting on the parchment on the plate.
- Using a thin sharp knife or lame with a razer blade, score the dough in a cross pattern. The cuts should be about 3/8 inch deep. Using the parchment, lift the dough into the pan and top with the lid of the pan.
- Place the lidded pan with the dough in the oven and set the temperature to 450 degrees F. Bake for 50 minutes with the lid on. After 50 minutes, remove the lid and bake until the loaf is the color you prefer and the internal temperature of the bread reaches about 205 to 210 degrees F. about 5 to 10 minutes more.
- Remove the loaf to a wire rack and let cool completely, about 2 hours, before slicing.
Nutrition Facts
Calories
92.52Fat (grams)
0.43 gSat. Fat (grams)
0.06 gCarbs (grams)
18.61 gFiber (grams)
0.62 gNet carbs
17.99 gSugar (grams)
0.08 gProtein (grams)
3.06 gCholesterol (grams)
0 mg


Interesting. I've never had a cold start to a sourdough bread but I'm willing to try!
ReplyDeleteThis was my first try and it seems to work!
DeleteI love making this bread. It’s so easy and delicious
ReplyDeleteDidn't know you were a sourdough baker.
DeleteI can't think of anything more beautiful to get me back to bread baking!
ReplyDeleteThank you!
DeleteI have sourdough starter ready and would love to try the cold start method. This loaf looks stunning!
ReplyDeleteI'm getting my starter going this weekend, pinning this to give it a try! That crust looks amazing!
ReplyDeleteI have used this recipe twice and my results were great both times. This recipe and method are keepers for sure. I followed recipe exactly, using an established starter. Thanks for the delicious recipe!
ReplyDeleteI am new to Sourdough banking, and am using your blog to gain valuable knowledge.
ReplyDeleteI tried a loaf using your cold bake instructions and the loaf came out very blonde.
I live in Southern Idaho, our altitude is about 4300 feet. May I ask what the altitude you bake at s? I am wondering if I need to adjust my baking time due to altitude difference.
How was the interior?
DeleteCan you please clarify, i understand the dutch oven is cold but is the oven also cold when you put the bread into the oven? Thank you
ReplyDeleteYes. The oven is cold too. I was so surprised the first time I tried it!
DeleteCan I fold in additions when preparing to place in fridge for the night?
ReplyDeleteGinny
Yes, you could.
Delete