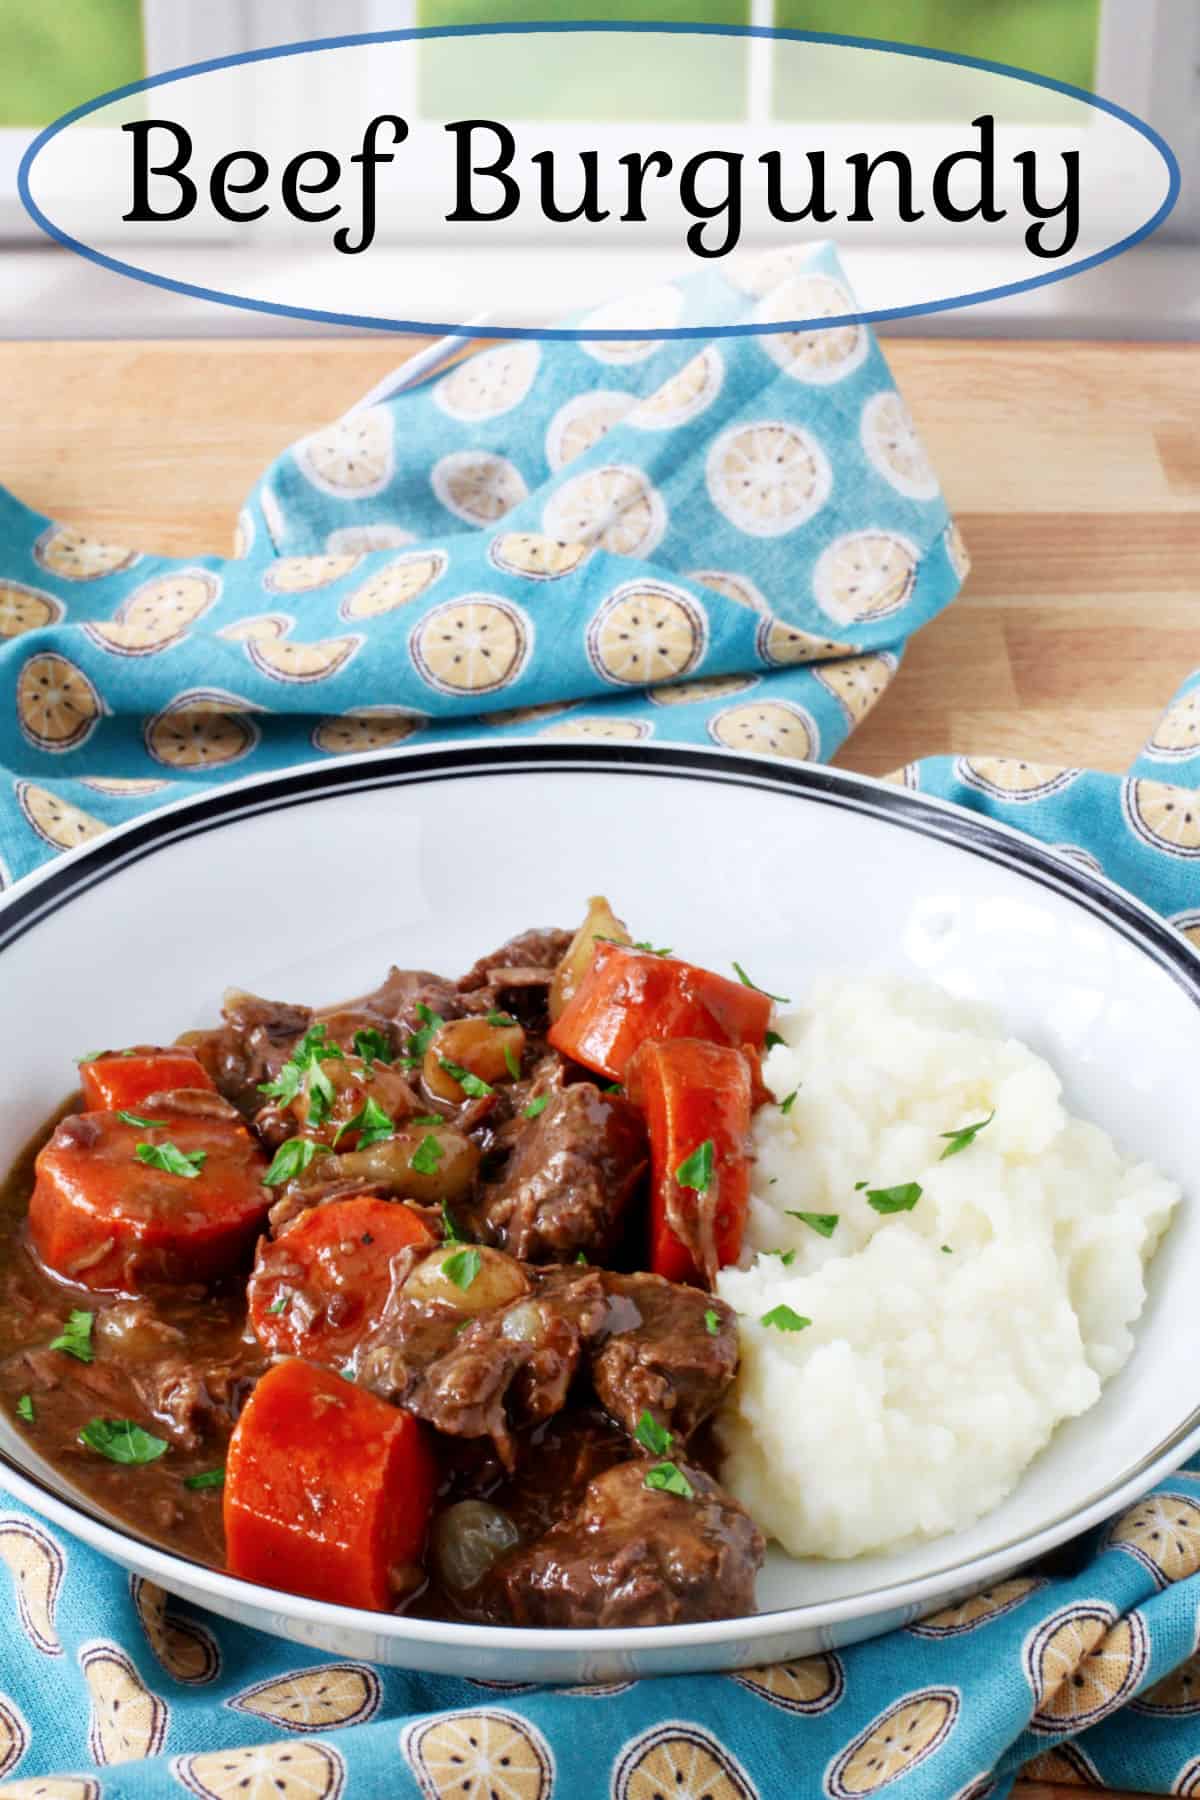
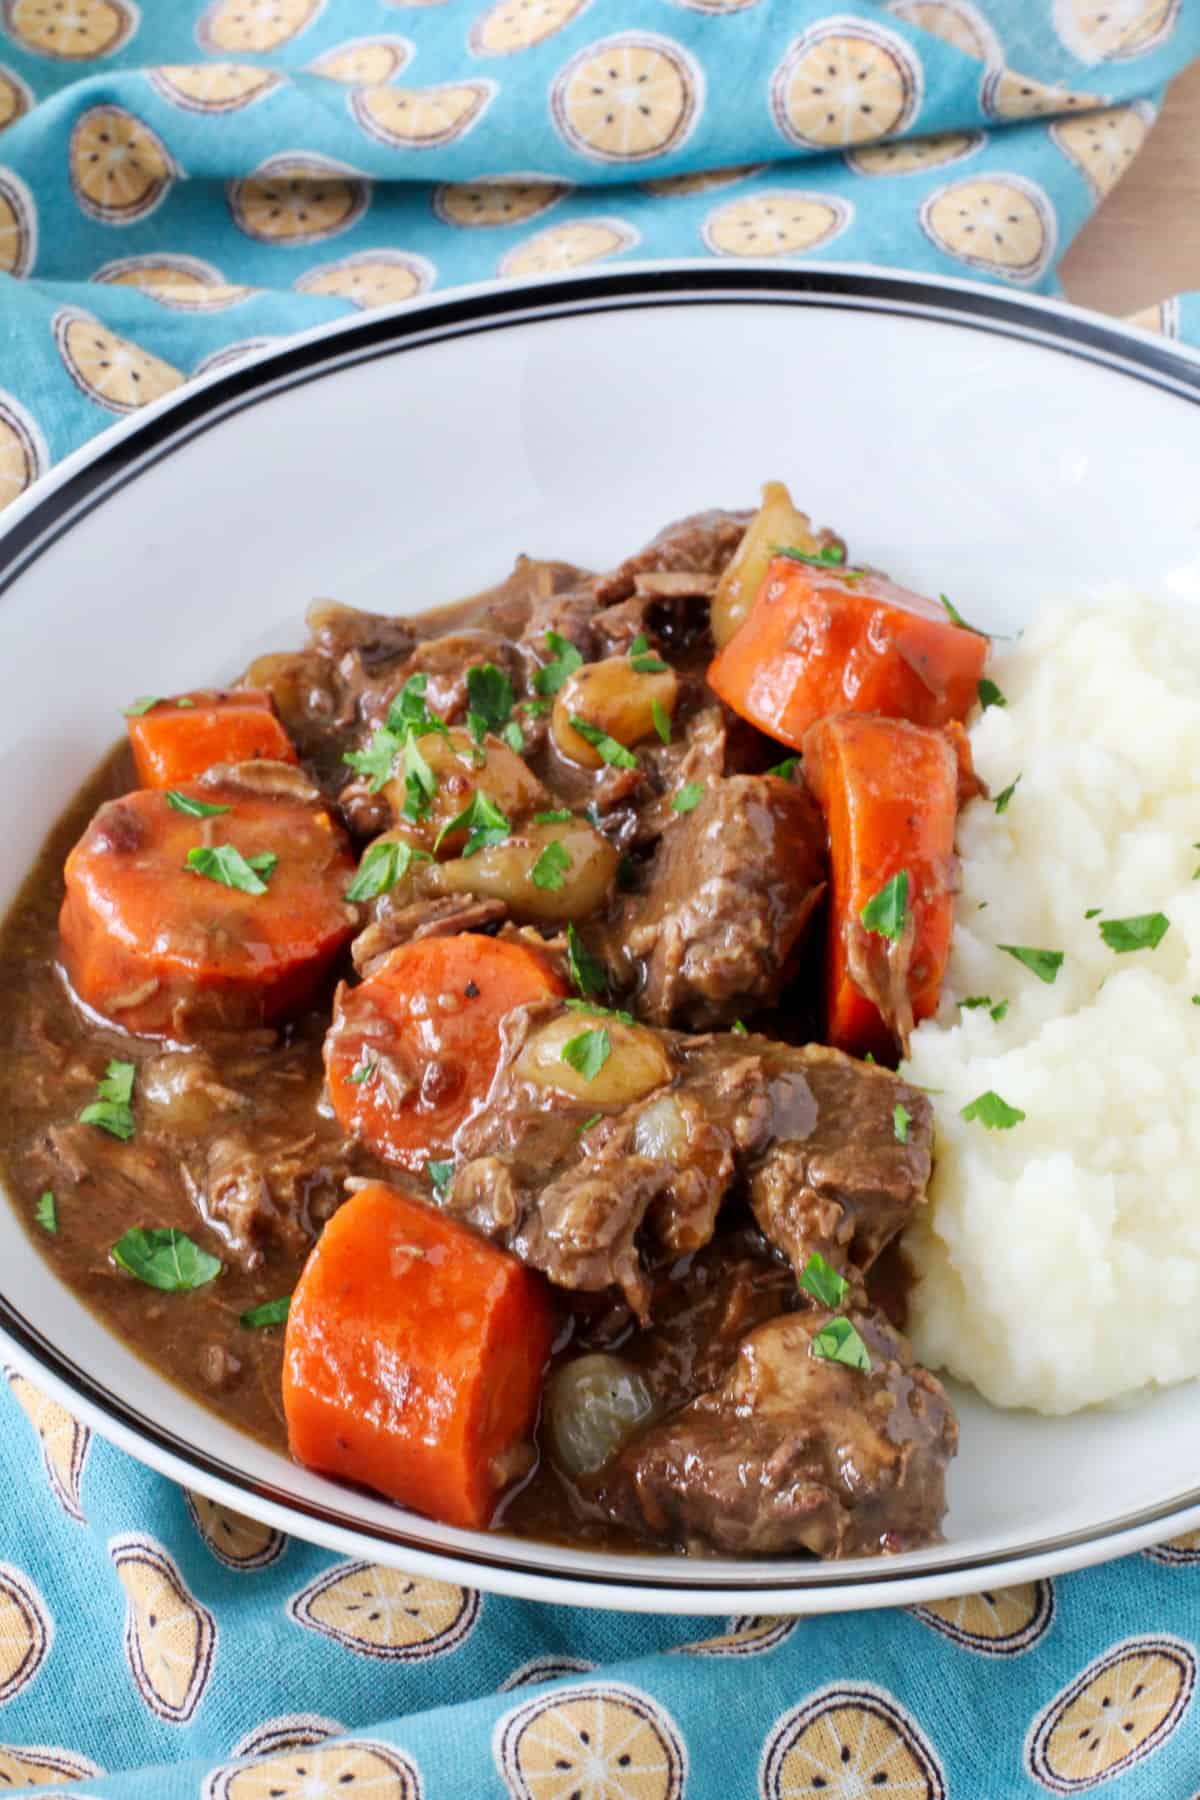
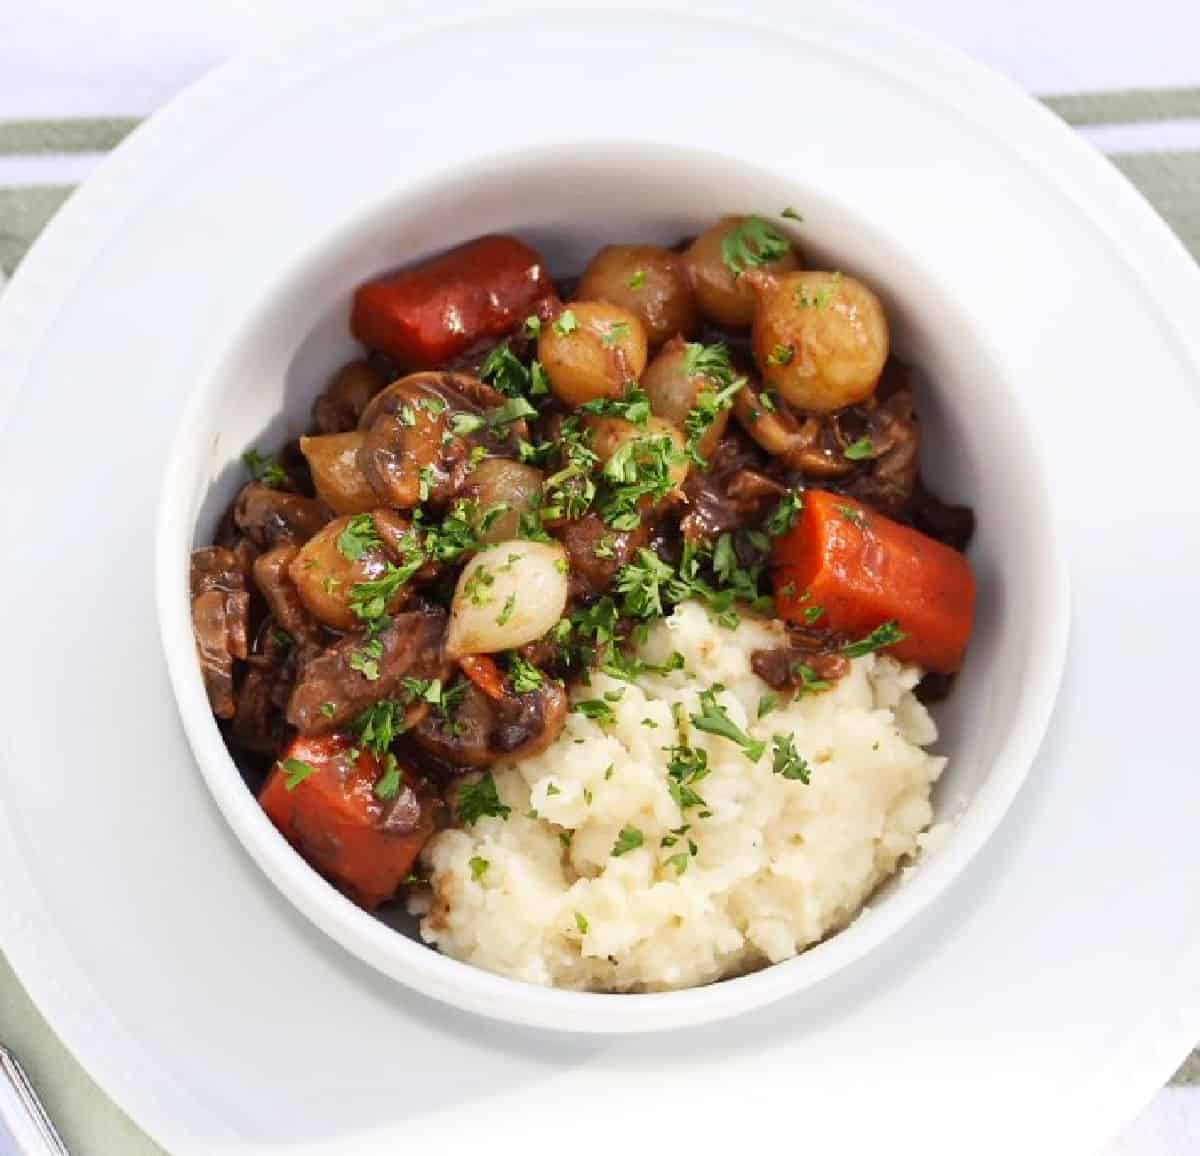
This boeuf bourguignon is a classic French stew with beef, bacon, carrots, mushrooms, pearl onions, and a whole bottle of wine.
This French classic dish, made famous by Julia Child, raises stew to a whole new level. This dish is delicious the day that it is made, and even better if you give it a chance to rest overnight in the refrigerator.
I sometimes make things hard on myself when having friends over for dinner. By that I mean I sometimes will attempt some fairly involved dishes for the first time. This dish represents one of those times. No regrets. I love flexing new muscles (especially when things turn out)!
I had always been curious about Boeuf Bourguignon, and when a colleague told me about making Julia's version for her family as a celebration for her own birthday, I started to obsess, but I wanted to try something a little simpler.
This recipe is still pretty involved, including three or four pan deglazings, and requires a bit of patience. Do not be intimidated though. This is not at all difficult if you are organized (which does not come easily to me when I first attempt a new dish).
Fortunately, this dish tastes even better when you do most of the work a day in advance and reduce the sauce and add the vegetables on the second day. The results are so worth it. Plus, there's so much less pressure and stress if you're serving this for a dinner party.
For a simpler version, be sure to try the Instant Pot beef burgundy.
This boeuf Bourguignon is also perfect for a romantic dinner for two. Just pack up and freeze the rest for serving later. In fact, you can package the rest in individual servings for lunches and dinners for when you don't feel like cooking but still want something luxurious.
Shopping and Pantry List:
Lardons: Extra thick bacon or salt pork, cut into strips.
Fresh herbs: Parsley, thyme, sage, rosemary, plus more parsley leaves for garnish.
Dried herbs and flavorings: bay leaves, black peppercorns, and salt, plus an old parmesan rind (optional).
Produce: frozen pearl onions, carrots, garlic, and small white mushrooms. The already peeled frozen pearl onions are so much easier than peeling fresh onions.
Beef: For the beef, buy a chuck roast that you trim and cut yourself.
Pantry and Refrigerator Ingredients: Butter, flour, tomato paste, chicken broth, Worchestershire sauce, brandy or cognac, and beef demi glace (optional).
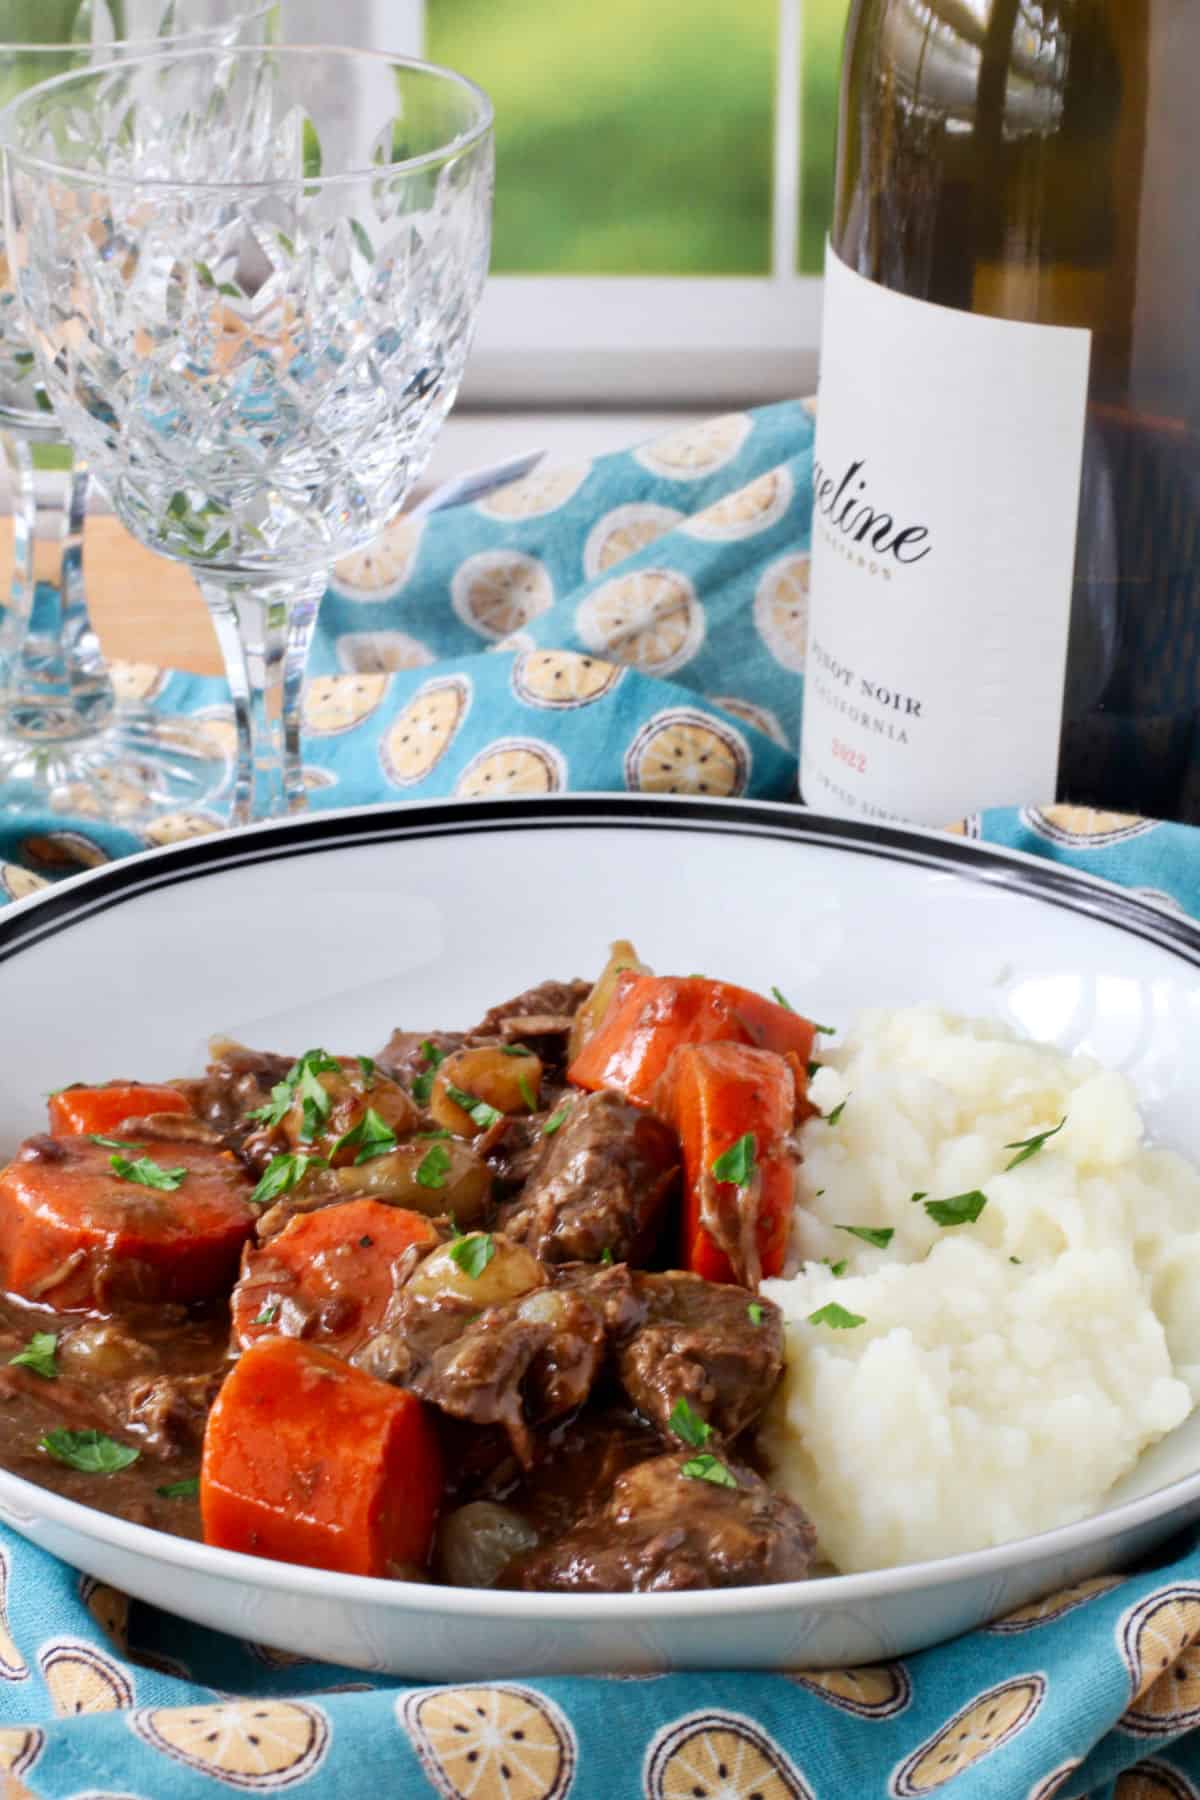
Wine: Red burgundy, chianti, or pinot noir. I used pinot noir.
Tip for Success:
While not necessary, try to divide the process into two days.
On the first day, cook the meat and the carrots, and create the gravy. Once you've done this, you can separate them and refrigerate them for the next day. This makes it so much easier to skim the fat from the gravy once it's cold.
In fact, once you've completed making this beef burgundy, you can actually refrigerate it again to serve on the third day. In my opinion, the flavor gets more beefy and the roast gets more tender.
What is demi glace?:
It's basically a stock that has been super reduced to concentrate flavors. My favorite brand is More than Gourmet. You can also make it yourself and keep it in the freezer. In a pinch, you can substitute Better than Bouillon. Just be sure to cut back on the salt in the recipe.
You can also skip this ingredient, but I love the extra richness it adds.
This Beef Burgundy is an elegant meal, perfect for a dinner for two or for an intimate dinner party. Serve it with the same pinot noir that you used to prepare the stew. Your guests will be in awe.
Serving Suggestion:
Serve over boiled potatoes, noodles, rice, or mashed potatoes.
Add a side salad, some garlic Parmesan dinner rolls, and chocolate pots de crème for the perfect dinner for two.
Leftovers are fantastic, and can also be frozen. I've also used the leftover beef in tacos, sandwiches, and burritos.
More Date Night Dinner Recipes:
- Beet Gnocchi with Arugula Basil Pesto from The Spiffy Cookie
- Boeuf Bourguignon from Karen's Kitchen Stories
- Chile Lime Mahi Mahi from That Recipe
- Copycat Applebees Bourbon Street Steak from Palatable Pastime
- Deviled Crab from Art of Natural Living
- Fondant Potatoes from A Kitchen Hoor's Adventures
- Linguini and Clams from Hezzi-D's Recipe Box
- Sweet and Spicy Chicken from A Day in the Life on the Farm
We share Recipes From Our Dinner Table! Join our group and share your recipes, too! While you're at it, join our Pinterest board, too!
Boeuf Bourguignon | Beef Burgundy Recipe

Ingredients
- 6 ounces of extra thick bacon or salt pork, cut into 1/4 by 1 inch strips
- 3 cups water
- 10 sprigs of fresh parsley
- 6 sprigs of fresh thyme
- 3 large fresh sage sprigs
- 3 large fresh rosemary sprigs
- An old parmesan rind (optional)
- 2 medium white, sweet, or brown onions, coarsely chopped
- 2 carrots, coarsely chopped
- 1 head of garlic, with the cloves separated and crushed. There is no need to peel the cloves
- 2 crumbled bay leaves
- 1 tablespoon black peppercorns
- 3 1/2 pounds beef chuck roast, trimmed, patted dry with paper towels, cut into two inch pieces, and seasoned with salt and pepper
- 1 cup water, divided into 2 half cups
- 4 tablespoons unsalted butter cut into 4 pieces
- 1/3 cup unbleached flour
- 1 3/4 cups low sodium chicken broth
- 2 tablespoons beef demi glace (optional)
- 1 1/2 cups water
- 1 bottle red burgundy, chianti, or pinot noir
- 1 tablespoon tomato paste
- salt and pepper to taste
- 4 to 8 large carrots, peeled and sliced into 2 inch pieces (optional)
- 10 ounces of frozen pearl onions
- 1 tablespoon unsalted butter
- 1 tablespoon sugar
- 1/2 teaspoon salt
- 1/2 cup water
- 10 ounces of small white mushrooms, washed, stems removed, and sliced into 1/2 inch slices
- 1/4 cup water
- 2 tablespoons brandy
- 1 tablespoon Worchestershire sauce
- Fresh parsley leaves, minced to sprinkle over each plate
Instructions
- Bring salt pork or bacon to boil in the water in a saucepan and boil for about two minutes. Drain and pat dry.
- Securely wrap and tie the parsley, thyme, sage, rosemary, optional parmesan, onions, carrots, garlic bay leaves, and peppercorns in cheesecloth. Set in the bottom of an oven proof 8-quart enameled cast iron or stainless steel Dutch oven.
- Place a rack in the lower third of your oven and preheat it to 300 degrees F.
- Over medium heat, saute the salt pork/bacon in a 12 inch skillet over medium heat until light brown and crisp (about 12 minutes).
- With a spider or slotted spoon, remove the salt pork/bacon from the pan and add it to the Dutch oven.
- Drain the fat from the skillet (do not discard yet) and add back 2 teaspoons. Heat the skillet on high and brown half of the beef until deep brown on all sides, about 7 minutes total. Transfer the browned beef to the Dutch oven.
- Pour one cup of water into the skillet to deglaze. Scrape up all of the brown bits with a wooden spoon. Pour the liquid into the Dutch oven.
- Add 2 teaspoons of the reserved drippings to the skillet and reheat on high. Brown the rest of the beef as before. Add the beef to the Dutch oven. Deglaze the skillet again with 1/2 cup of water and add to the Dutch oven.
- Add the 4 tablespoons of butter to the skillet and heat on medium. When the butter stops foaming, add the flour and whisk constantly for about 5 minutes, until the mixture looks like light colored caramel or peanut butter.
- Slowly whisk in the chicken broth, demi glace, and water. Bring to a simmer, stirring regularly, until it thickens. Add the thickened broth to the Dutch oven.
- Add 3 cups of of the wine, tomato paste, salt. and pepper to the Dutch oven. Stir. Heat the Dutch oven on high and bring it to a boil. Cover the Dutch oven and place it in the oven for 3 hours. Add the optional carrots at the two hour mark.
- Remove the Dutch oven from the oven and remove the cheesecloth wrapped herb packet. Place it into a strainer over the Dutch oven and squeeze out all of the liquid. Discard the packet.
- Remove the beef and optional carrots from the Dutch oven, place it in a bowl, cover, and refrigerate.
- Chill the liquid in the Dutch oven overnight.
- Remove the Dutch oven and the beef/carrot packet from the refrigerator. Skim the solidified fat from the top of the liquid. Bring the liquid to a boil and simmer, stirring occasionally until the sauce has reduced to about three cups. The sauce should be the consistency of heavy cream. This should take about 15 to 25 minutes.
- Meanwhile, bring the onions, butter, sugar, 1/4 teaspoon of salt, and 1/2 cup of water to a boil in a 10-inch skillet on high heat. Cover the skillet and reduce the heat to medium-low. Simmer for about five minutes. Uncover and increase the heat to high and cook the onions until all of the water evaporates. Add the mushrooms and the rest of the salt. Cook for about five minutes, until the mushroom liquid evaporates and the onions and mushrooms are browned. Transfer them to a large plate.
- Add 1/4 cup of water to the pan and deglaze. Add that liquid to the simmering Dutch oven.
- When the Dutch oven sauce is reduced to 3 cups and is the right thickness, add the beef, carrots, onions, and mushrooms (plus any juices), the rest of the wine, brandy, and Worcestershire sauce. Cover and cook until heated, about 8 minutes. Add additional salt and pepper to taste.
- Serve over boiled potatoes, noodles, rice, or mashed potatoes and sprinkle with minced parsley.
Nutrition Facts
Calories
733Fat (grams)
50 gSat. Fat (grams)
22 gCarbs (grams)
24 gFiber (grams)
4 gNet carbs
20 gSugar (grams)
9 gProtein (grams)
47 gCholesterol (grams)
182 mgAdapted from Cook's Illustrated, January, 2001, Bon Appetit, September, 1999, and many other sources.
Originally posted January, 2013 and thoroughly updated February, 2024.


I have seen books shorter than this recipe. Good grief!
ReplyDeleteYes, it took me quite a while to get around to posting it! I kept putting it off.
DeleteI love this one! Yes good things take time and are not explained within a second! Great flavor combo and I bet super satisfying! Thank you so much for sharing this at Wednesday Extravaganza - see you there again this week with more deliciousness :)
ReplyDeleteThank you! And thank you for the Extravaganza!
DeleteAll cooks have their idiosyncrasies, but this comes about as close to the way I do it as you can get without being spooky. Thanks for taking the time to write it all down. Now I have something to show people!
ReplyDeleteClassic French technique.
ReplyDeleteI was wondering approximately how long would you say Day One and Day Two take, cumulatively, by day? I'm trying to plan to make this for Sunday, and would like to know how much time to allot on Saturday, and what time to start on Sunday in order to have the meal finished before our guests arrive.
ReplyDeleteThank you so much, and it sounds delicious, obviously!
Hi Kristin. I would recommend allowing about 8 hours for the first day, and about two hours for the second day so you won't get stressed. Now, I actually make the whole dish over two days and reheat it on the third day. It's just as good, if not better. Less stress.
DeleteSaving this for our cooler weather (which is a few months away). Looks delicious!
ReplyDeleteThank you so much!! You'll love it, even though it's a lot of work. Totally delicious.
DeleteI love dishes that can be made ahead of time. Especially dishes like this or lasagna that take a lot of steps and time. The next day when your guests arrive the food smells delicious in the oven and there is no muss or fuss.
ReplyDeleteThis is a beautiful classic dish. Love, love it. You are right a perfect romantic meal.
ReplyDeleteThanks for the inspiration.
Velva
I haven't had this in years but it has always been a favorite for special occasions. Looks like it's time to make it again!
ReplyDeleteSuch a classic but I never thought of it for Valentine's. Great idea!
ReplyDeleteThis is such a classic and comforting dish. It's a perfect date night dinner with all it's rich flavors, and love cooked into the dish.
ReplyDelete