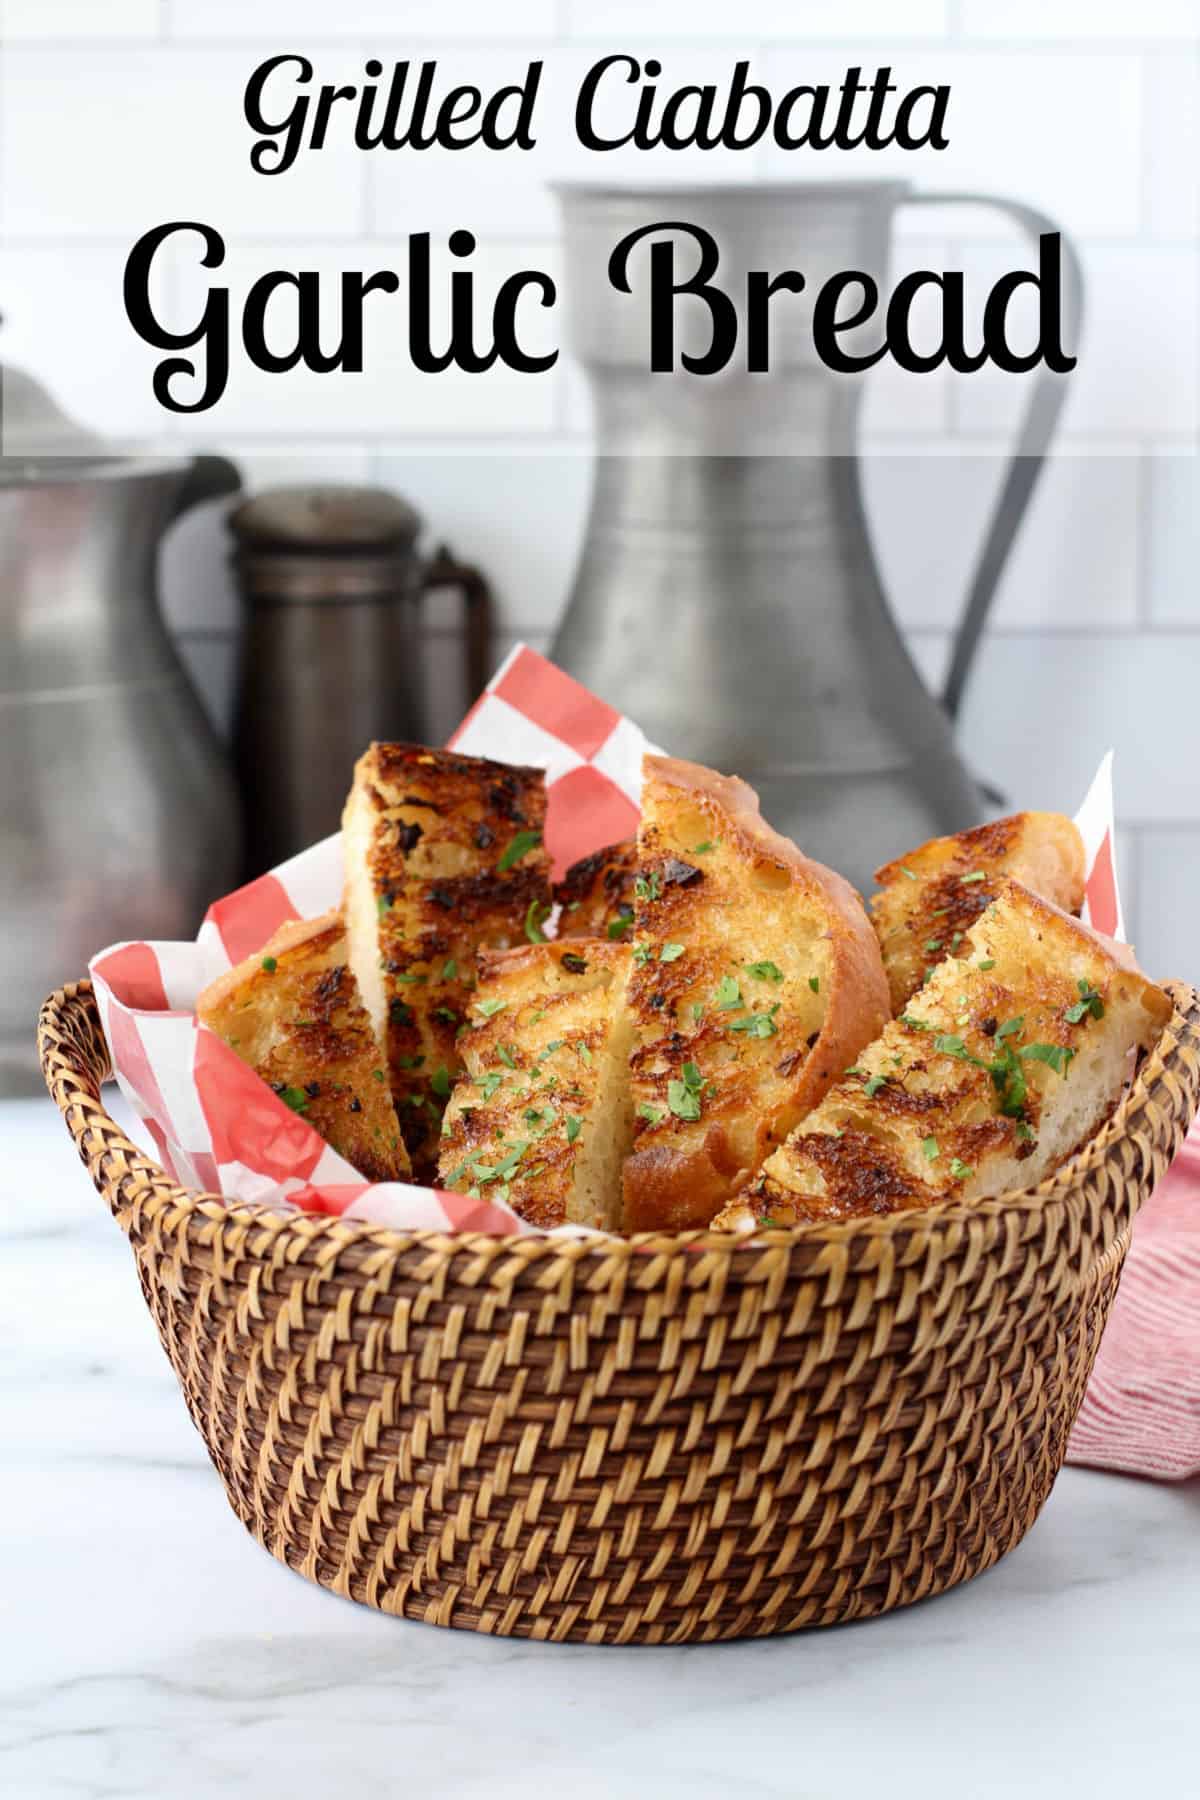
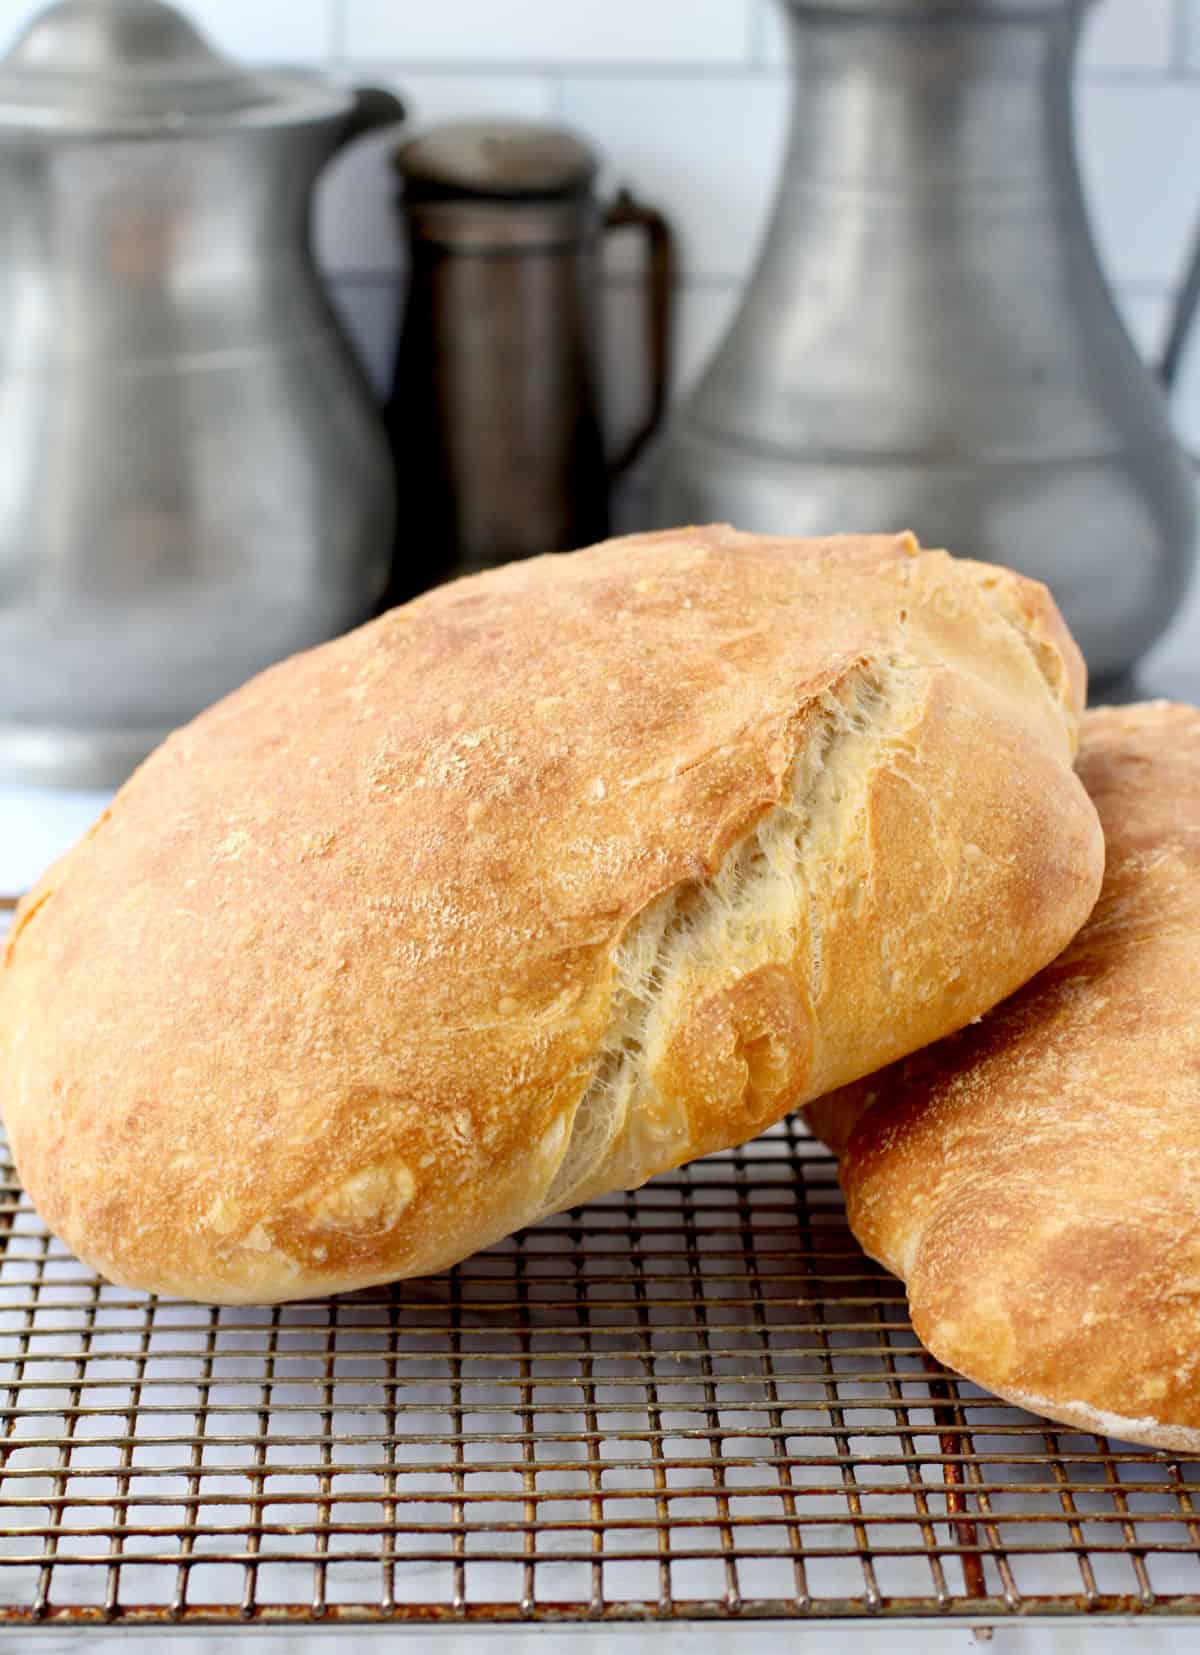
This ciabatta garlic bread begins with an easy-to-make ciabatta loaf that is sliced and brushed with lots of butter and garlic and finished with a quick char on the grill. So good!
Make a soft and airy loaf of ciabatta and turn half of it into amazing crunchy, buttery, and garlicky grilled bread.
Spread your homemade ciabatta with lots of garlic infused melted butter and cook it on the grill the next time you are having a barbecue.
Why You Need to Make This Grilled Garlic Bread:
First, you won't have to run into the kitchen from the grill to make the bread. Plus, you can take advantage of the already hot grill as soon as you take the steaks off to rest before serving.
In addition, the bread is doused in garlic infused butter and then grilled on both sides until charred and crispy. Who can say "no" to that?
First, make the ciabatta:
The ciabatta is super easy to make and requires very little hands on time. It does take a couple of days to make, with most of that time for the dough to rest and rise in the refrigerator overnight. Actually, you can prep the dough up to four days in advance!
This recipe is enough for two loaves of ciabatta, one for garlic bread and one for sandwiches or dipping in olive oil and balsamic with dinner. I shaped one loaf into a somewhat round and the other into a flatter elongated shape to make the garlic bread.
If you want to double the garlic bread recipe, just make two enlongated loaves, use the bottom halves of both, and double the garlic butter recipe.
Why the bottom half? Because it's flatter so you can also grill the underside. The rounded top is a little harder to grill evenly but you can try!
There are only five ingredients in this bread too: just flour, water, salt, instant yeast, and a little bit of oil. If you can, definitely use a kitchen scale to measure the ingredients so that you get the right amount of hydration. This is an 80% hydration dough.
If you use kosher salt, you should probably use a mini kitchen scale or jewelry scale to measure that because different brands have different coarseness.
Mix the dough on day one in just a few minutes and then do four "stretch and folds" in the first 40 minutes after mixing. Next, refrigerate the dough overnight and up to four days.
The trick to getting an airy crumb with this bread is to handle it gently and minimally when shaping, and baking it in a very hot oven with steam.
Be sure to let the bread cool before slicing.
Next, make the grilled garlic bread:
You can use the bread as soon as it has cooled or wait a day or two. The trick is to make sure the butter is fully infused with the garlic.
First, mince about a half a head of garlic and add it, along with a stick of salted butter to a saucepan. Melt everything together and then set it aside to steep.
When you are ready to grill the bread, spoon about half of the butter mixture over the cut side of the bread and let it soak in. Then, grill the bread, cut side down for about five minutes while brushing the crust side with more garlic butter.
Next, flip the bread over to grill the crust side for about three minutes while brushing the rest of the garlic butter over the already grilled side. You can brush off any burned garlic pieces if you like.
Finally, slice the bread into strips and serve while hot.
Recipe Variations:
If it's not grilling weather, you can easily use an indoor grill pan over medium-high heat to make this bread. The flavor might not be as smoky, but the bread is still delicious.
If you want to add a little cheesy flavor, sprinkle a little bit of freshly grated Parmesan cheese onto the top when you are grilling the crust side.
By all means, feel free to use your favorite bakery ciabatta if you don't have time to bake your own bread. I like the La Brea Bakery brand along with other par-baked brands that you can finish in your home oven.
P.S. For a sweet take on garlic bread, be sure to try Korean Cream Cheese Garlic Buns.
More Breads for Barbecues:
- Food Lust People Love: Cheesy Skillet Cornbread
- Passion Kneaded: Hamburger Potato Buns
- Karen’s Kitchen Stories: Homemade Ciabatta Garlic Bread
- Sneha’s Recipe: Homemade English Muffins
- A Messy Kitchen: Sweet Corn Muffins
- A Day in the Life on the Farm: Texas Toast starting with Homemade English Muffin Bread
- Palatable Pastime: Traeger Bacon Cornbread
#BreadBakers is a group of bread loving bakers who get together once a month to bake bread with a common ingredient or theme. Follow our Pinterest board right here. We take turns hosting each month and choosing the theme/ingredient.
Homemade Ciabatta Grilled Garlic Bread

Ingredients
- 567 grams (4 1/2 cups) bread flour
- 11 grams salt (1 3/4 teaspoons table or 2 1/2 teaspoons kosher)
- 4 grams (1 1/4 teaspoons) instant yeast
- 454 grams (2 cups) chilled (55 degrees F) water
- 14 grams (1 tablespoon) olive oil
- 113 grams (1 stick) salted butter
- 6 to 8 cloves garlic, peeled and finely chopped
- 1/2 (flat side) of a 10 to 12 inch long and ciabatta, sliced in half, lengthwise
- Finely chopped fresh flat-leaf parsley
Instructions
- Day One: Combine everything except the olive oil in the bowl of a stand mixer. Mix for about one minute with the paddle attachment until the ingredients are well blended, about a minute.
- Let the dough rest, covered with plastic wrap, for five minutes.
- Add the olive oil, and mix for one minute more.
- Using a wet scraper, scrape the dough into a new lightly oiled bowl. Rest, covered, for 10 minutes.
- Stretch and fold the dough from all four "sides" in the bowl. Turn the dough over and shape it into a ball. Cover the bowl with plastic wrap and let it rest for 10 minutes. Repeat three more times, every ten minutes, for a total of four "stretch-and-folds."
- Place the dough back into the bowl, cover it with oiled plastic, and refrigerate the dough overnight and up to four days.
- Day Two: Three hours before baking, remove the dough from the refrigerator. It should have risen to about 1 1/2 times its size or more.
- After one hour, very gently transfer the dough to a floured work surface.
- Dust the dough and your hands with flour, and gently coax the dough into a nine inch square.
- Using a dough scraper or bench knife, cut the dough into two even pieces.
- Fold the pieces in thirds, like folding a letter. Gently place the two pieces of dough, seam side down, on a generously floured baking sheet.
- Spray the loaves with spray oil, cover loosely with oiled plastic wrap, and let them rest for one hour.
- Gently flip the two loaves over, and, with floured or oiled hands, gently stretch them to about a ten-inch long rectangle.
- Spray with spray oil, cover with plastic wrap, and let rest for one hour.
- Prepare your oven with a broiler pan on the bottom rack and a baking stone on the second lowest rack. If you don't have a stone, you can bake them on the baking sheet. Preheat the oven to 550 degrees F (or however high your oven will heat).
- After the dough has rested for one hour, slide the baking sheet with the loaves onto the heated stone, pour a cup of ice cubes into the broiler pan, and shut the oven door.
- Reduce the temperature to 450 degrees F.
- Bake for 12 minutes, rotate the baking sheet, and bake the loaves for another 15 to 20 minutes. The bread should be browned and register 195 to 205 degrees with an instant read thermometer. The crust will be hard but will soften as the bread cools.
- Allow the bread to cool on a cooling rack for about 45 minutes.
- Melt the butter in a small saucepan over low heat and add the minced garlic. Cook for about a minute or two. Remove the pan from the heat and let the garlic and butter steep for at least an hour. Re-melt the butter if it begins to harden.
- Spoon half of the butter and garlic mixture onto the cut side of the bread and let it soak in for at least five minutes.
- Grill the bread, buttered side down, for 3 to 5 minutes, until crispy and the bread has grill marks. While the bread is grilling, brush the other side with more of the butter in the pan.
- Flip the bread over and brush off any overly burned garlic pieces if necessary. Grill on the other side for about 3 minutes while brushing the cut side with more butter.
- Remove the bread from the grill, sprinkle it with the parsley, slice, and serve.
Nutrition Facts
Calories
295.06Fat (grams)
9.76 gSat. Fat (grams)
5.19 gCarbs (grams)
43.8 gFiber (grams)
1.47 gNet carbs
42.33 gSugar (grams)
0.18 gProtein (grams)
7.57 gCholesterol (grams)
20.25 mgRecipe adapted from Recipe Tin Eats and Artisan Bread Every Day (my absolute favorite bread book from Peter Reinhart, published in 2009 and still my "go-to" book for easy artisan breads).
How to stay up to date with Karen's Kitchen Stories?
While you’re here please take a minute to follow me on Pinterest. I’m always pinning great recipes from fellow bloggers.
Finally, please follow me on Instagram. It’s a great way to stay up to date on all the latest and greatest blog recipes.


Your Ciabatta looks lovely and we with great minds absolutely use the grill for toasting.
ReplyDeleteGreat minds indeed =)
DeleteLove to have this toast with grilled chicken!
ReplyDeleteGreat combo!
DeleteOh my nom nom nom! My eldest was just pining for some good garlic bread...
ReplyDeleteSerendipity!
DeleteLittle Dude could live on garlic bread. I have never made ciabatta, I really need to change that.
ReplyDeleteIt's pretty easy and the results are totally worth it!
DeleteI always think that grill marks make toast more attractive and your ciabatta does not disappoint, Karen! My family would demolish that basket of garlic bread!
ReplyDeleteThanks Stacy!
Delete