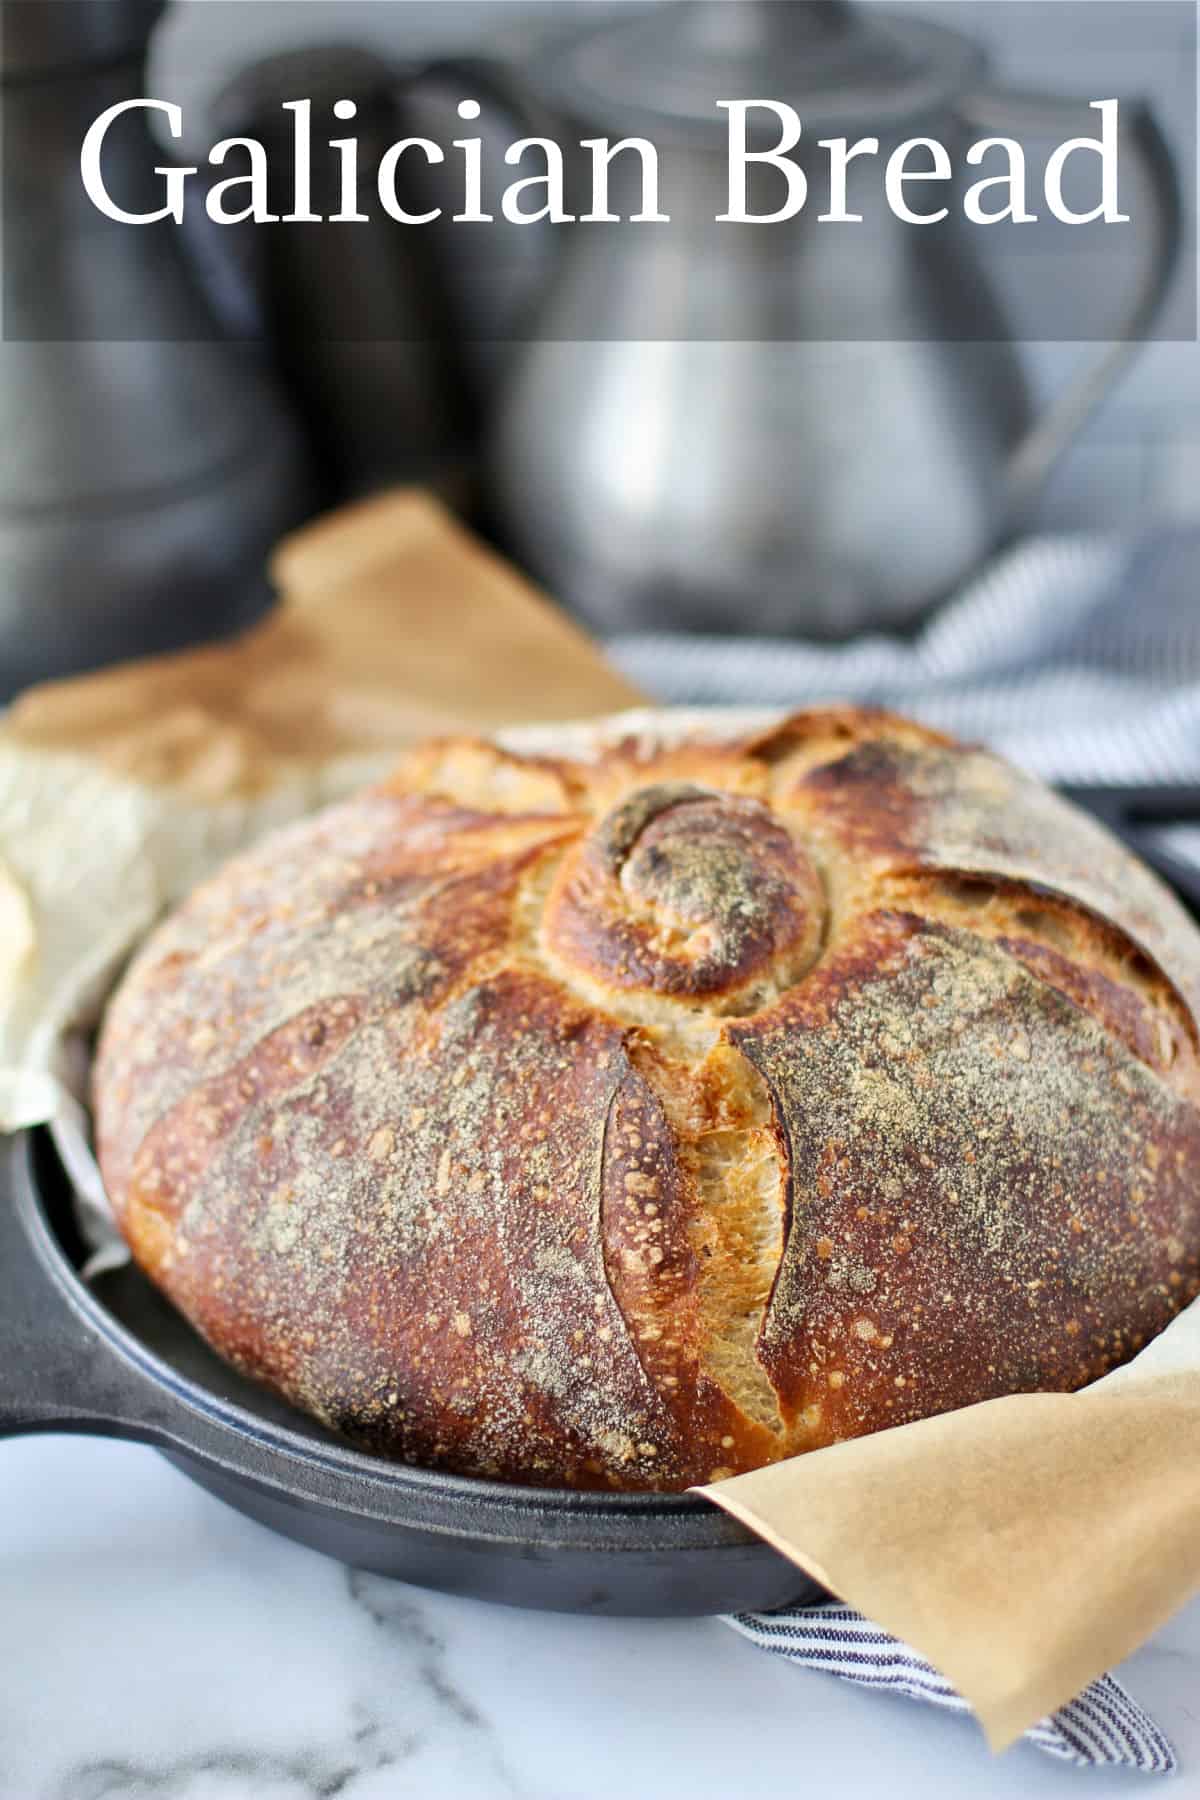
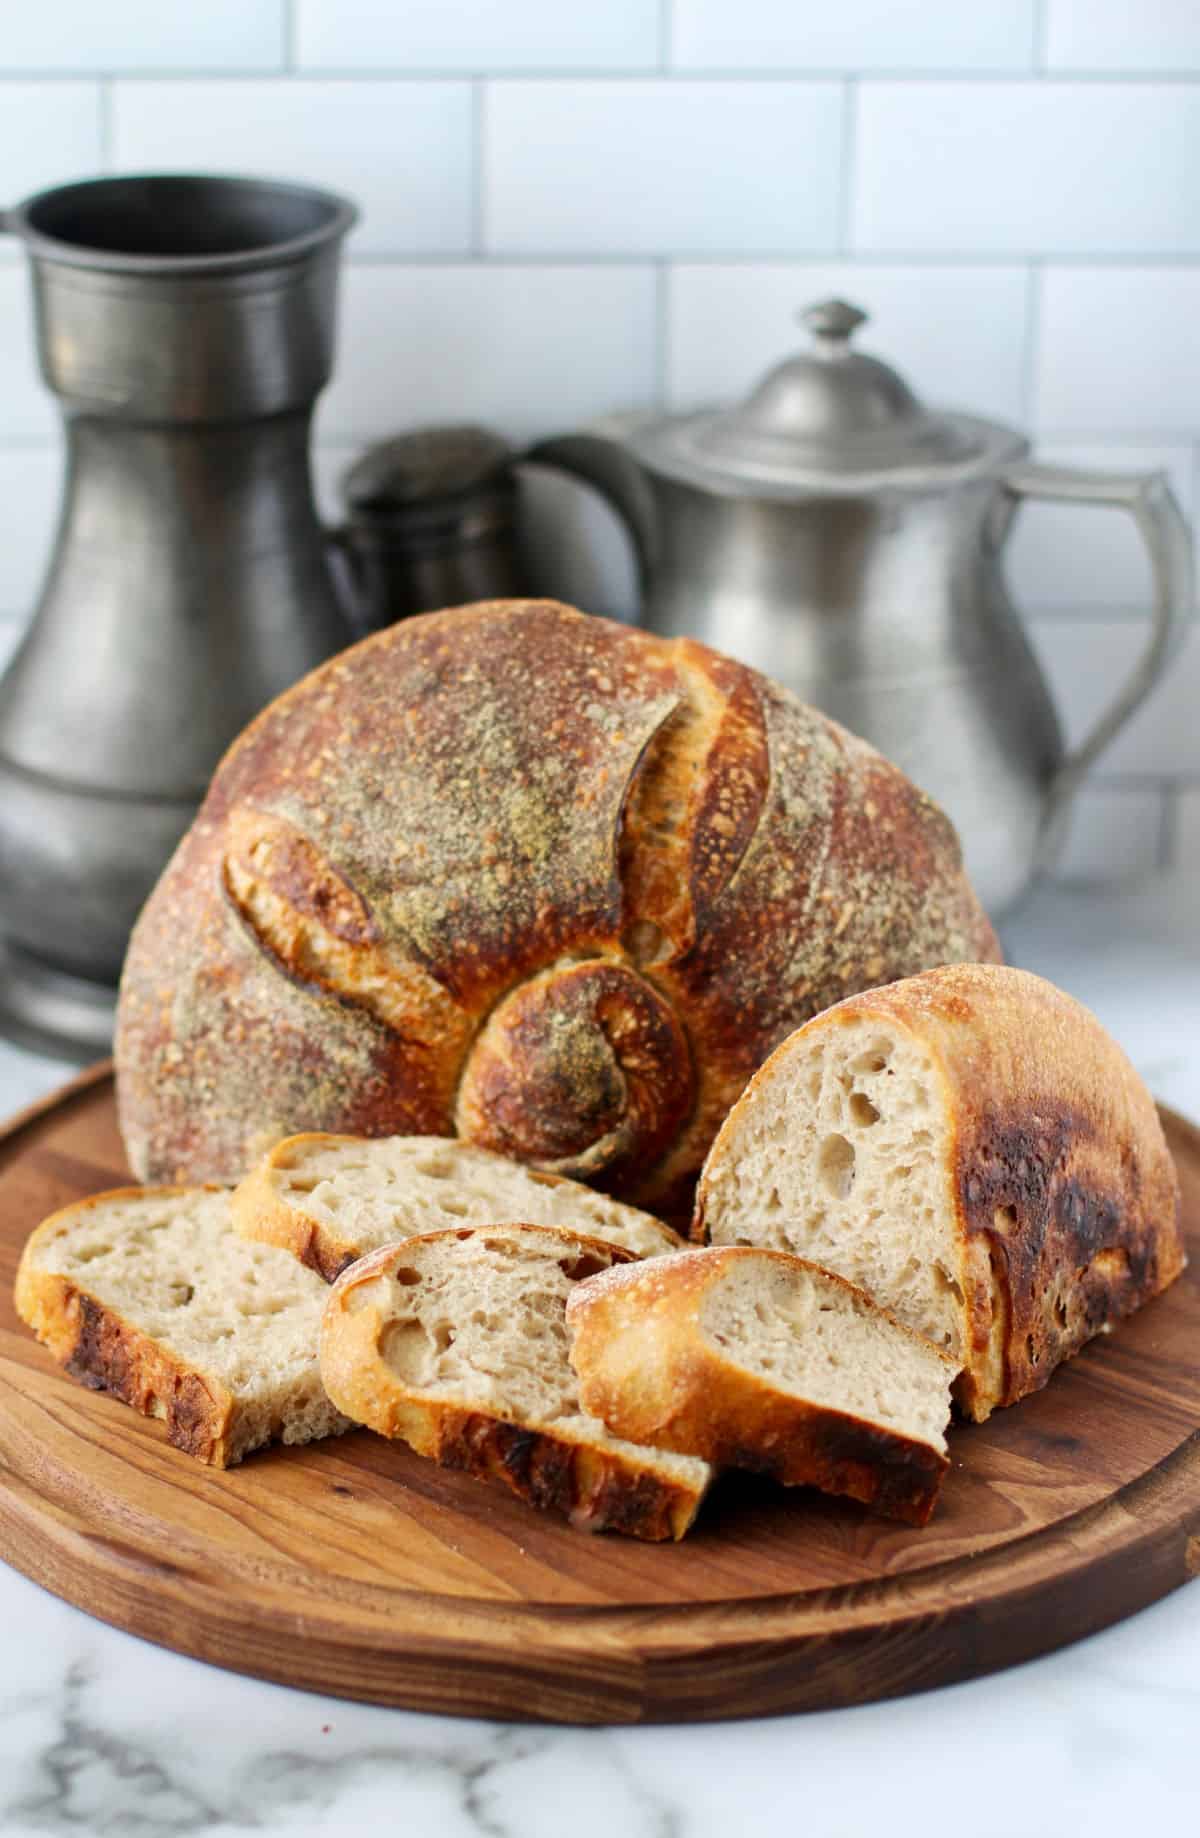
This Pan Gallego, or Galician Bread, is a bread from Spain with a distinctive knot at the top.
This Galician bread is made with a blend of bread flour and rye flour and is leavened with a preferment of liquid starter fed with white, whole wheat, and rye.
The rye flour is added to the formula to substitute for Galician flour. There is not a lot of rye flour... just enough to add some color and flavor to the dough and bring out the sourdough flavor.
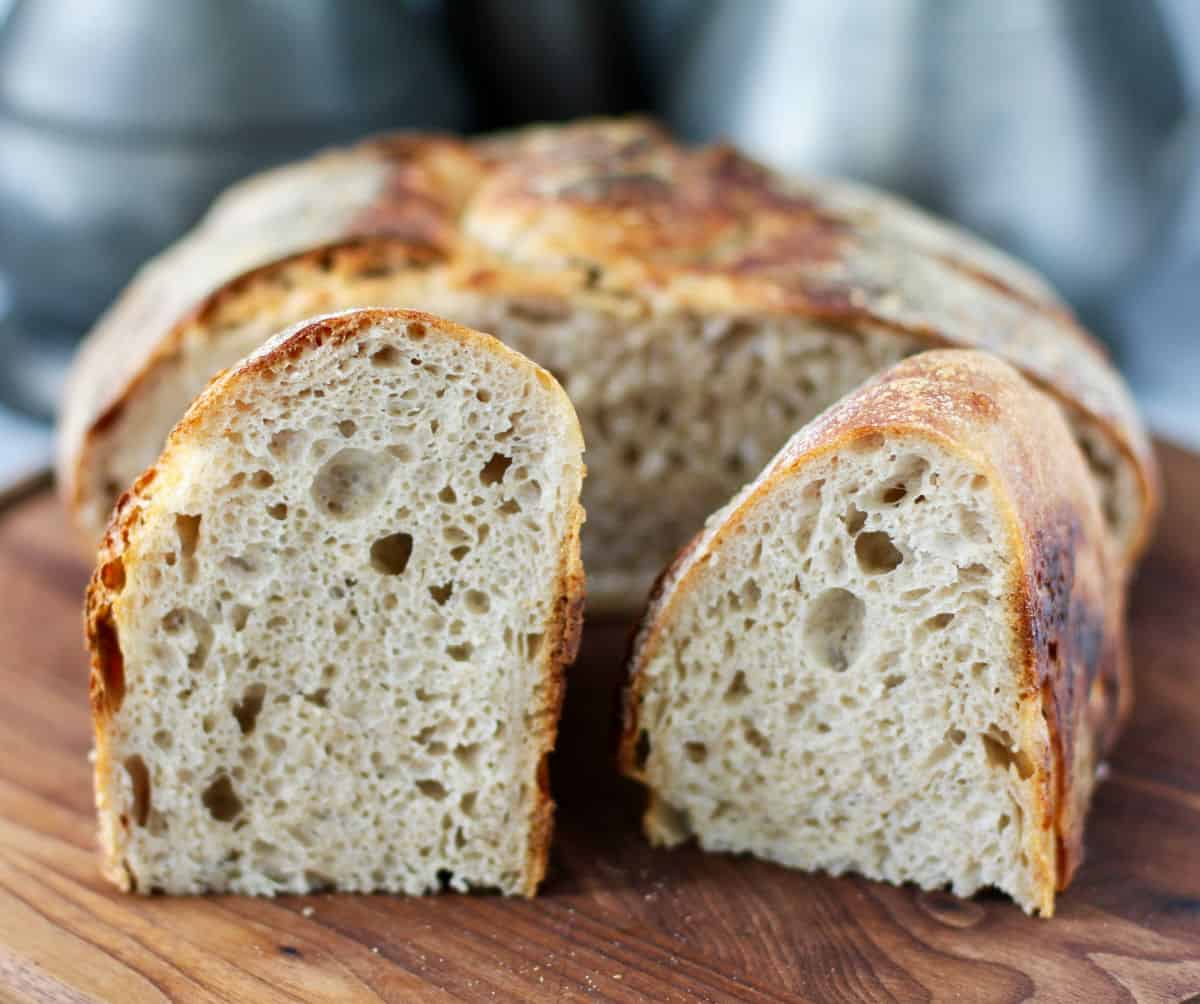
This bread has an amazing sourdough flavor and aroma. Plus, with its high hydration and long fermentation, it stays fresh for days.
How to Make Pan Gallego:
First, create the levain by taking a small amount of your active sourdough starter and add a mixture of bread flour, whole wheat flour, rye flour, and water. You will need to let the levain rest for four hours before using it. You can also refrigerate it once it has risen for up to 12 hours.
Additionally, if your starter is sluggish, feed it first to get it going before creating the levain.
Once your levain is active, mix the final dough by combining it with water, bread flour, rye flour, and salt. There are two "stretch and folds" before letting the dough rise for four hours at room temperature and then shaping it into a boule.
After that, you let the shaped dough rise 2 to 3 hours before placing it in the refrigerator for 8 to 10 hours.
Next, remove the shaped dough from the refrigerator and allow it to warm up for one to two hours.
Finally, create the knot at the top of the loaf by pulling up on the dough at the top and then twisting it into a curl. I actually was able to tie the dough into a knot!
Bake!
I am in love with the "bubbles" on the deep crusty crust.
I baked this loaf in a preheated cast iron Dutch oven. If you don't have one, you can also bake this bread on a preheated baking stone with a steam pan on the lowest rack in your oven.
You can skip scoring the dough altogether if you prefer. After creating the knot on top of the shaped loaf, I decided to cut four very shallow slits on the sides of the loaf perpendicular to the bottom of the loaf, mostly to prevent the dough from bursting open randomly on one side.
If you're curious about Galicia, it is a region of northwestern Spain, just above Portugal. There aren't any major cities in the region, and many of the citizens speak both Galician, which is a blend of Portuguese and Spanish, as well as Castilian.
While I've been to Catalán, I'd love to visit the other regions of Spain some day, including Galicia.
This bread is the Bread Baking Babes' choice to bake this month. Our host kitchen is Cathy of Bread Experience who is a bread baker extraordinaire. She was inspired to make this recipe from the book New World Sourdough by Bryan Ford. He's the host of The Artisan's Kitchen on Chip and Joanna Gaines' Magnolia Network.
The book is loaded with great photos and a peek into the personality of the author.
Cathy made an adjustment to the process by moving the cold ferment to the shaped loaf rather than during the first rise as outlined in the book. I followed Cathy's recommendation.
Tips for Making this Pan Gallego:
Keep in mind that making this bread will take two to three days depending on your schedule.
Suggested Schedule for baking this bread:
On day one, feed the levain, let it rise, and let it chill in the refrigerator.
On day two, mix the final dough, let it rise, shape the loaf, let it rise, and then place it in the refrigerator overnight.
On day three, after letting the final dough come to room temperture, form the knot and bake the loaf in a preheated Dutch oven.
More Tips:
Do not cut into the loaf until it has cooled completely. In fact, if you can wait overnight, even better. The bread continues to bake once it has been removed from the oven as it cools.
Yes, this bread requires some planning, but it's totally worth it.
Note: This recipe might frustrate you if you don't have a kitchen scale. My first recommendation would be to buy a kitchen scale if you are serious about baking bread. I'm a total believer.
If you like, you can find conversions on the King Arthur website.
After the Recipe, be sure to check out the rest of the Bread Baking Babes' version of this bread.
Galician Bread

Ingredients
- 50 grams mature starter
- 50 grams bread flour
- 25 grams whole wheat flour
- 25 grams whole rye flour
- 90 grams lukewarm (100 degrees F) water
- Note: you will not use all of this levain
- 425 grams bread flour
- 75 grams whole rye flour
- 425 grams water, room temperature
- 100 grams of the levain
- 10 grams salt
Instructions
- Combine the levain ingredients in a medium bowl. Stir, cover with plastic wrap, and let rest at room temperature for four hours.
- Use immediately or place the levain in the refrigerator for up to 12 hours to use the next day.
- Mix the flours and 325 grams of the water. Add 50 grams more of the water and mix, cover, and set aside to rest for 45 minutes.
- Add the levain and 25 grams more water, and stir to combine. Cover and let sit for 1 hour.
- Add the salt and 25 grams of the water to the dough and use your fingers to pinch and squeeze the salt into the dough to dissolve.
- Once the salt has dissolved, stretch and fold the dough several times. Cover and let rest for 30 minutes.
- Stretch and fold the dough again. Cover and let bulk rise for four hours.
- Shape the dough into a boule and let it sit for 15 minutes. Tighten up the loaf and place it into a towel lined banneton, seam side up, and cover with oiled plastic wrap.
- Proof the loaf at room temperature for 2 to 3 hours.
- Move the loaf to the refrigerator and proof for 8 to 10 more hours.
- Remove the loaf from the refrigerator.
- Let the loaf come to room temperature, about 2 hours.
- Heat the oven to 475 degrees F with a Dutch oven on the middle rack.
- Turn the dough out onto a piece of parchment paper, seam side down. Grab the top of the dough with your hand and pull it up as far as you can. Twist it around and form it into a knot. Let it settle back down onto the top of the dough.
- Using a sharp knife, gently cut four evenly spaced perpendicular slits into the dough to give it some room to expand.
- Lift the dough with the parchment paper into the preheated Dutch oven, Cover, and place the loaf in the oven. Bake for 15 minutes. Reduce the oven to 425 degrees F.
- Remove the cover and finish baking for an additional 15 to 20 minutes, until the bread has reached an internal temperature of 205 degrees F.
- Cool completely on a wire rack.
Nutrition Facts
Calories
109.7Fat (grams)
0.51Sat. Fat (grams)
0.08Carbs (grams)
22.37Fiber (grams)
1.31Net carbs
21.07Sugar (grams)
0.14Protein (grams)
3.63Sodium (milligrams)
195.73Cholesterol (grams)
0


Your scoring and topknot look perfectly gorgeous! Mine wasn't floured enough and I slightly mangled it while scoring. Dough did not want to twist into a knot at all so I got more of a crusty nipple look on top, ROFL!! Ahem. It was a wonderfully tasty bread though, yum!
ReplyDeleteHa ha! I was actually able to tie a knot, probably because the dough was a little coldish.
DeleteBeautiful crust and crumb. How cool that you've been to Spain. I would like to get there one day.
ReplyDeleteI'd love to go back!
DeleteThanks for including the tidbit about Artisan Bryan being the host of The Artisan's Kitchen on Chip and Joanna Gaines' Magnolia Network. I didn't know that! That's very cool! Worth taking a look.
ReplyDeleteYou're welcome! =)
DeleteThe colour of the crust!! The crumb!! How beautiful, Karen!
ReplyDeleteThank you Elizabeth!
DeleteYou tied it into a knot? Gorgeous bread!!!
ReplyDeleteAs I read this in preparation I am bit confused. Initially you say I won't use all the levain, but the recipe does not say how much of the levain I use. Can you clarify? The loaf looks gorgeous.
ReplyDeletenever mind my question.. i see in the dough recipe it is 100 gm. sorry for the bother. looking forward to making. jonathon
ReplyDeleteI’m curious as to how you keep the dough from sticking to the towel-lined banetton all that time in the fridge—just with tons of flour?
ReplyDeleteI usually use a mix of flour and rice flour. Rice flour really helps it keep nonstick.
DeleteWhy is the towel necessary in the banetton? Is it to prevent drying? Thank you so much for your help!
ReplyDeleteYou could flour your banneton and skip the towel if you prefer. It's a matter of preference.
DeleteThank you!
ReplyDeleteSorry, one more question for this wonderful recipe:!for what could one use the leftover levain? Could I use it in making crumpets or crackers or pizza crust, for example, as I might a regular sourdough discard? Or do I use the leftover levain as the basis for my Galician bread mature starter? Thank you in advance!
ReplyDeleteIt's up to you. You could mix it back into your starter (a little whole wheat and rye can't hurt), make crackers, or use it any way you'd use discard!
Delete