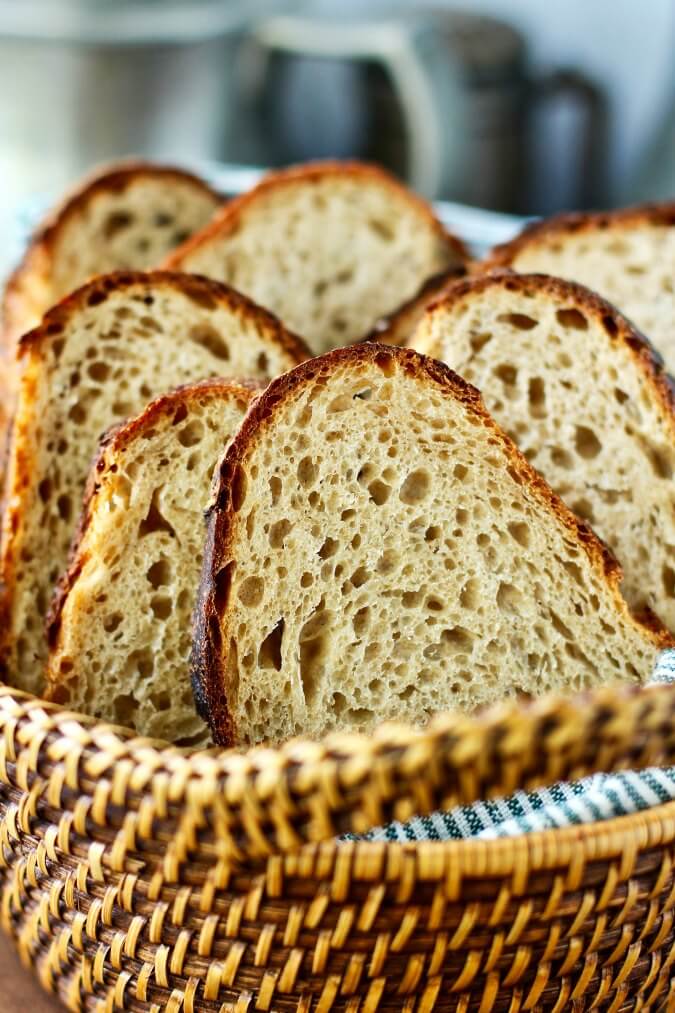
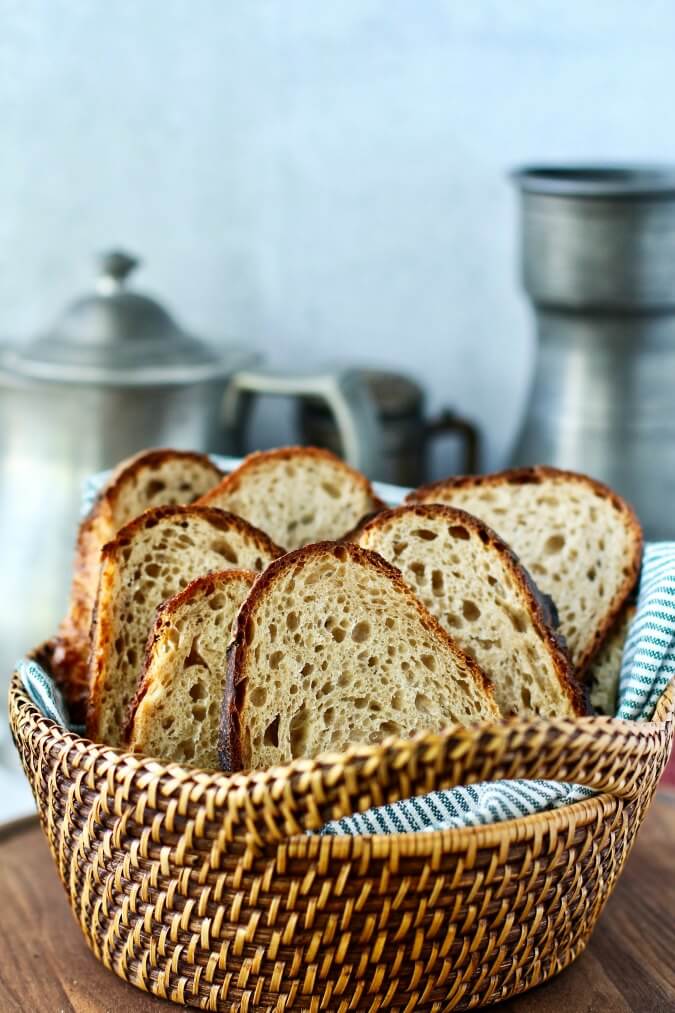
This whole wheat no knead bread is hearty and delicious and it's an easy bread for beginners.
This bread is 1/3 whole wheat and 2/3 bread flour. Plus, there's some lager beer in there to add some extra oomph to the yeast and vinegar to add some extra sour flavor to the dough.
This is a great bread recipe for beginners. The dough is not so wet that it's difficult to handle, yet you will still get a somewhat airy crumb.
You bake this loaf for about 20 minutes in a Dutch oven, and then finish baking the loaf in a sheet pan for an additional 20 minutes.
The top of the crust of this bread will sometimes get very dark. If you don't like the dark edges, just tent the loaf loosely with foil toward the end of the baking time.
How to make this no knead bread:
First, mix all of the dough ingredients with a dough whisk or wooden spoon in a bowl or dough rising bucket. (Amazon Affiliate links. I may receive a small commission if you make a purchase, with no additional cost to you).
Next, you let the dough rise for 12 to 18 hours.
After that, shape the dough into a round and let it rise for about 2 hours in a banneton.
Finally, bake the loaf in a pre-heated Dutch oven for the first 20 minutes, and then finish baking for 20 minutes on a baking sheet.
Equipment Needed/Recommended:
- Kitchen scale. You can measure by volume, but measuring flour by weight is so much more accurate.
- A Dutch oven. Any Dutch oven will do. I like to use the Lodge Combo Cooker. You can also bake the loaf on a baking stone with a stainless steel mixing bowl set over the loaf as I did with this bread.
- A 7 inch bowl lined with a floured towel, or a 7 inch banneton.
- Parchment paper. This is optional, but makes transferring the dough to the hot Dutch oven much easier.
- Instant read thermometer. Optional, but very helpful.
This bread is hearty and the flavor stands up to strong cheeses and deli meats.
One of my favorite ways to enjoy it for breakfast is to spread it with smashed, seasoned avocado and grape tomato slices.
The From Our Dinner Table group is posting recipes for homemade breads. I originally posted this recipe in June of 2013. I've taken new photos and added a printable recipe card.
Homemade Bread Day
- Cinnamon Raisin Bread by Making Miracles
- Easy Homemade Rosemary Focaccia Bread by Blogghetti
- No Knead Whole Wheat Bread by Karen's Kitchen Stories
- One Hour Whole Wheat Bread by That Recipe
- Rustic Sourdough Bread by Hezzi-D's Books and Cooks
- Swedish Limpa Bread by Art of Natural Living
We share Recipes From Our Dinner Table! Join our group and share your recipes, too! While you're at it, join our Pinterest board, too!
No Knead Whole Wheat Bread

Ingredients
- 10 ounces (2 cups) all purpose flour
- 5 ounces (1 cup) whole wheat flour (I keep mine in the freezer)
- 1/4 tsp instant yeast
- 1 1/2 tsp salt
- 2 T honey
- 7 ounces room temperature filtered/bottled water
- 3 ounces mild beer (you can use non-alcoholic beer)
- 1 T white vinegar
Instructions
- In a large bowl, whisk all of the dry ingredients together.
- Add the honey to the water, and then add all of the wet ingredients to the dry ingredients.
- Stir the ingredients together until they are combined, cover the bowl with plastic wrap, and let it sit at room temperature overnight and up to 18 hours.
- Line a 7 inch bowl with a floured towel, or flour a 7 inch banneton.
- Remove the dough from the bowl onto a lightly floured surface and knead it about 15 times.
- Shape the dough into a ball by folding it from all four "sides" up toward the middle, flip it over, and place it seam side down into the bowl.
- Cover with plastic wrap and allow it to rise until doubled, about two hours.
- Preheat the oven with a Dutch oven in it to 500 degrees F.
- When you are ready to bake, cut the parchment into a 9 inch by 15+ inch piece.
- Remove the Dutch oven from the oven and remove the top. Place the parchment over the dough and place a plate over it. Flip the dough over, remove the bowl & towel or banneton, and lift and place the loaf in the Dutch oven by using the parchment as a sling (leave the paper under the dough). Cover the Dutch oven and place it in the hot oven.
- Lower the oven temperature to 425 degrees F and bake the loaf with the cover on for 20 minutes.
- Remove the cover and bake the loaf for another 20 to 30 minutes, until the interior of the loaf reaches 210 degrees F. I sometimes move the loaf to a baking sheet when I remove the cover in order to prevent the bottom of the loaf from burning.
- Cool the loaf on a wire rack for about two hours.
Calories
105.36Fat (grams)
0.40Sat. Fat (grams)
0.07Carbs (grams)
22.28Fiber (grams)
1.45Net carbs
20.84Sugar (grams)
2.24Protein (grams)
3.06Sodium (milligrams)
219.05Cholesterol (grams)
0.00


There's nothing a good home made bread...thanks for sharing..
ReplyDeleteThanks Ash, I agree!
DeleteI love the smell fresh baked bread leaves in my house! I can't wait to give this one a try!
ReplyDeleteThanks for sharing and I hope you will link up this wonderful recipe and others at my Foodie Friday Blog Hop at A Room for Two with a View. I know my readers would love it!
Have a fantastic Foodie Friday and a wonderful weekend!
Melissa
Thanks Melissa.
DeleteI have been making bread for several years now. This recipe sounded interesting so I thought I'd try it step by step as described.
ReplyDeleteI started this recipe last night and finished making it this morning. The house smells wonderful, BUT the bread is a major disappointment. Perhaps you could have included in the instructions how to proof the yeast. The bread did not rise much at all. .... too little yeast? ..... no proofing? Not sure.
I won't be making this one again.
Hi John, I'm so sorry it didn't work out for you! Are you sure you used instant yeast and not active dry yeast? I followed the recipe as written and it turned out as pictured. =(
DeleteAh, that is perhaps my problem. I did use dry yeast.
DeleteI'm all about the no knead breads, makes my life easier!
ReplyDeleteDefinitely!
DeleteThe rising time is long,but from the looks of the loaf, it is well worth the wait! I am already planning when to bake it.
ReplyDeleteTotally worth the wait!
DeleteI always learn great bread baking tips from you. I cook it the entire time in the Dutch oven, but I am going to move it to a baking sheet for the last part of baking the next time. My bottom always gets too crispy.
ReplyDeleteThis looks so light--going to give it a try!
ReplyDelete